Please note, this article is outdated and for archive purposes only.
I’m often asked what the “best” camera is for “X” type of photography, which is like answering, “what’s the best place to eat for lunch?”. Depends. But I have actually come to rely on what I think is the “best” camera for macro photography. And not just the camera, but a suite of macro components that congeals into what I think is the ultimate macro system. After trial and error using many configurations to photograph live insects in the field, I’ve achieved the best results with the Olympus micro four thirds camera system. I use the Olympus E-M5 Mk III, but this post applies to several Olympus models that work well for macro photography.
About Amazon Links
If you find this article useful please order your gear through the Amazon links below. The tiny commission from each sale costs you nothing, but supports future blogs. Using Amazon instead of the big NYC photo houses could amount to easier ordering, delivery, returns and the advantage of reading product reviews left by thousands of customers. I’m not affiliated with Olympus, nor have they provided me with any free or discounted equipment. I’ve written this review because I’m a gear nerd, and want to share the fun that I’ve have using their macro photography gear.
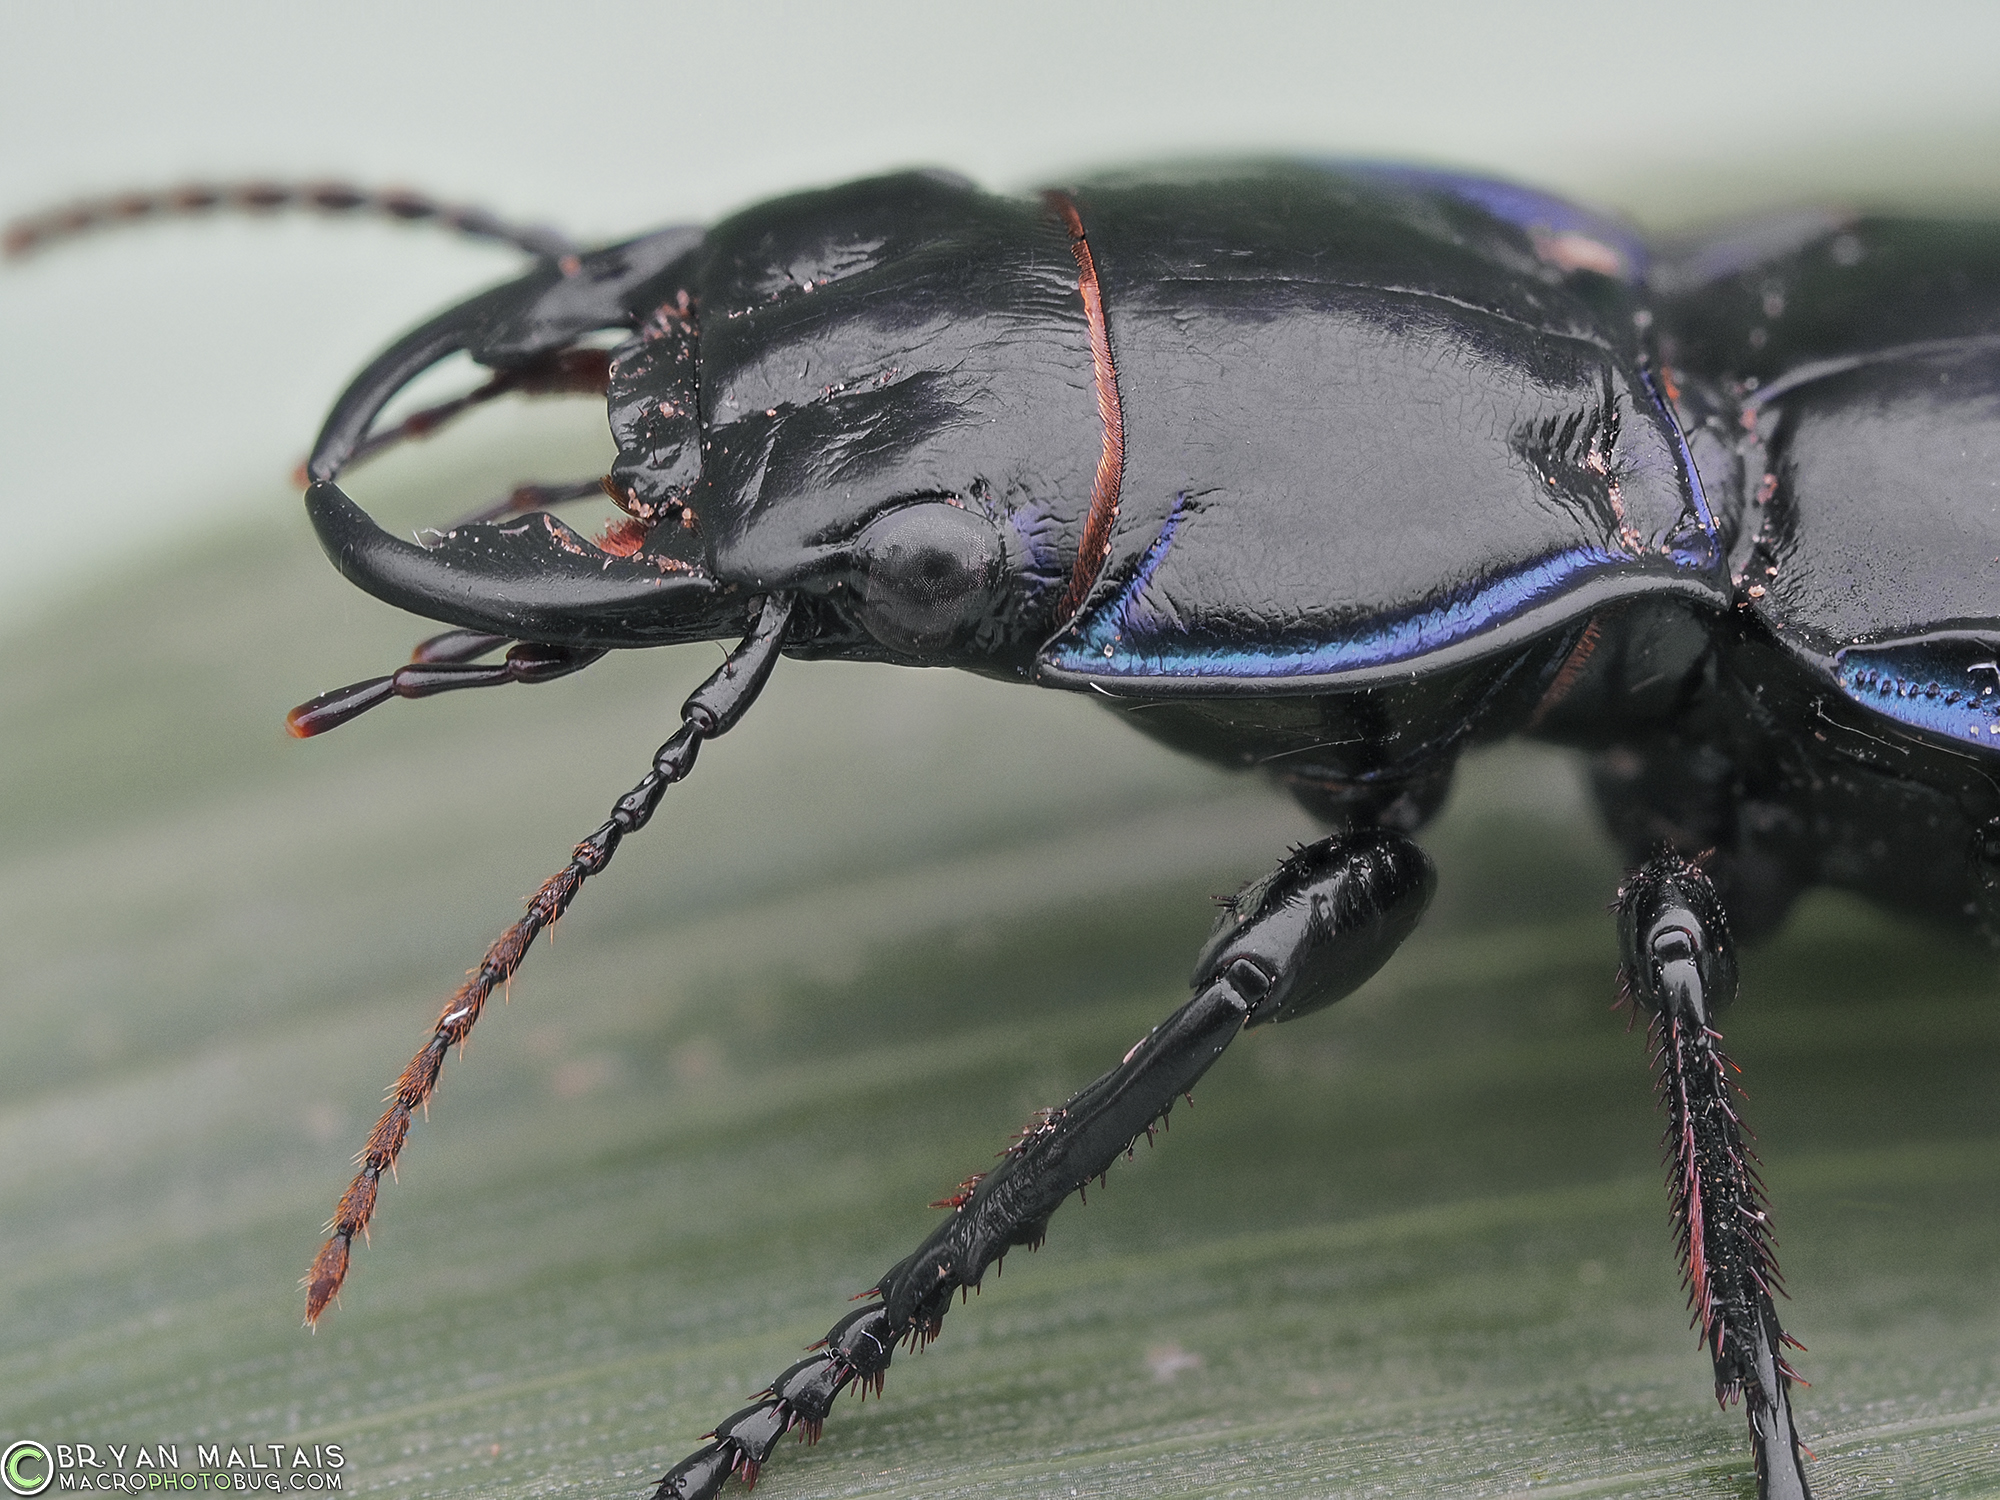
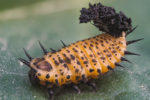
Blue-margined Ground Beetle taken with Olympus E-M5 Mk II and M. Zuiko 60mm macro lens. This is a composite focus stack of 30 images created by in-camera focus bracketing.
What’s the best Macro Photography setup?
 Technical specs and image quality are of course important, but fun and ease of use are equally important because they encourage me to shoot more often, making my portfolio flourish. My conclusion of what constitutes the “best macro photography setup” comes after using many systems. I’ve used “improvised” systems to achieve high magnifications like stacked lenses, reversed wide angle lenses, and extension tubes. Their added size, complexity and loss of auto aperture control reduced reliability, enjoyably, and sometimes image quality. I’ve also used full-frame cameras with a regular macro lens and macro flash. While ease of use and reliability were high, so too were weight and cost. In contrast, this Olympus system is reliable, easy, fun, lightweight, comparatively inexpensive, and yields excellent image quality.
I think the E-M5 Mk III (and similar Olympus models) is so well adapted for macro photography because it possesses the following suite of macro-specific abilities that no other camera system offers in a single package.* The most powerful among the features conducive to macro photography is in-camera focus bracketing, which I’ll explain below.
• In-camera Focus Bracketing (Focus Stacking)
• Small Size and Weight
• 2x Magnification
• In-body Image Stabilization
• Articulating View Screen
*Panasonic cameras also have these features, and are part of the same micro four thirds format as Olympus with inter-compatible lenses and accessories.
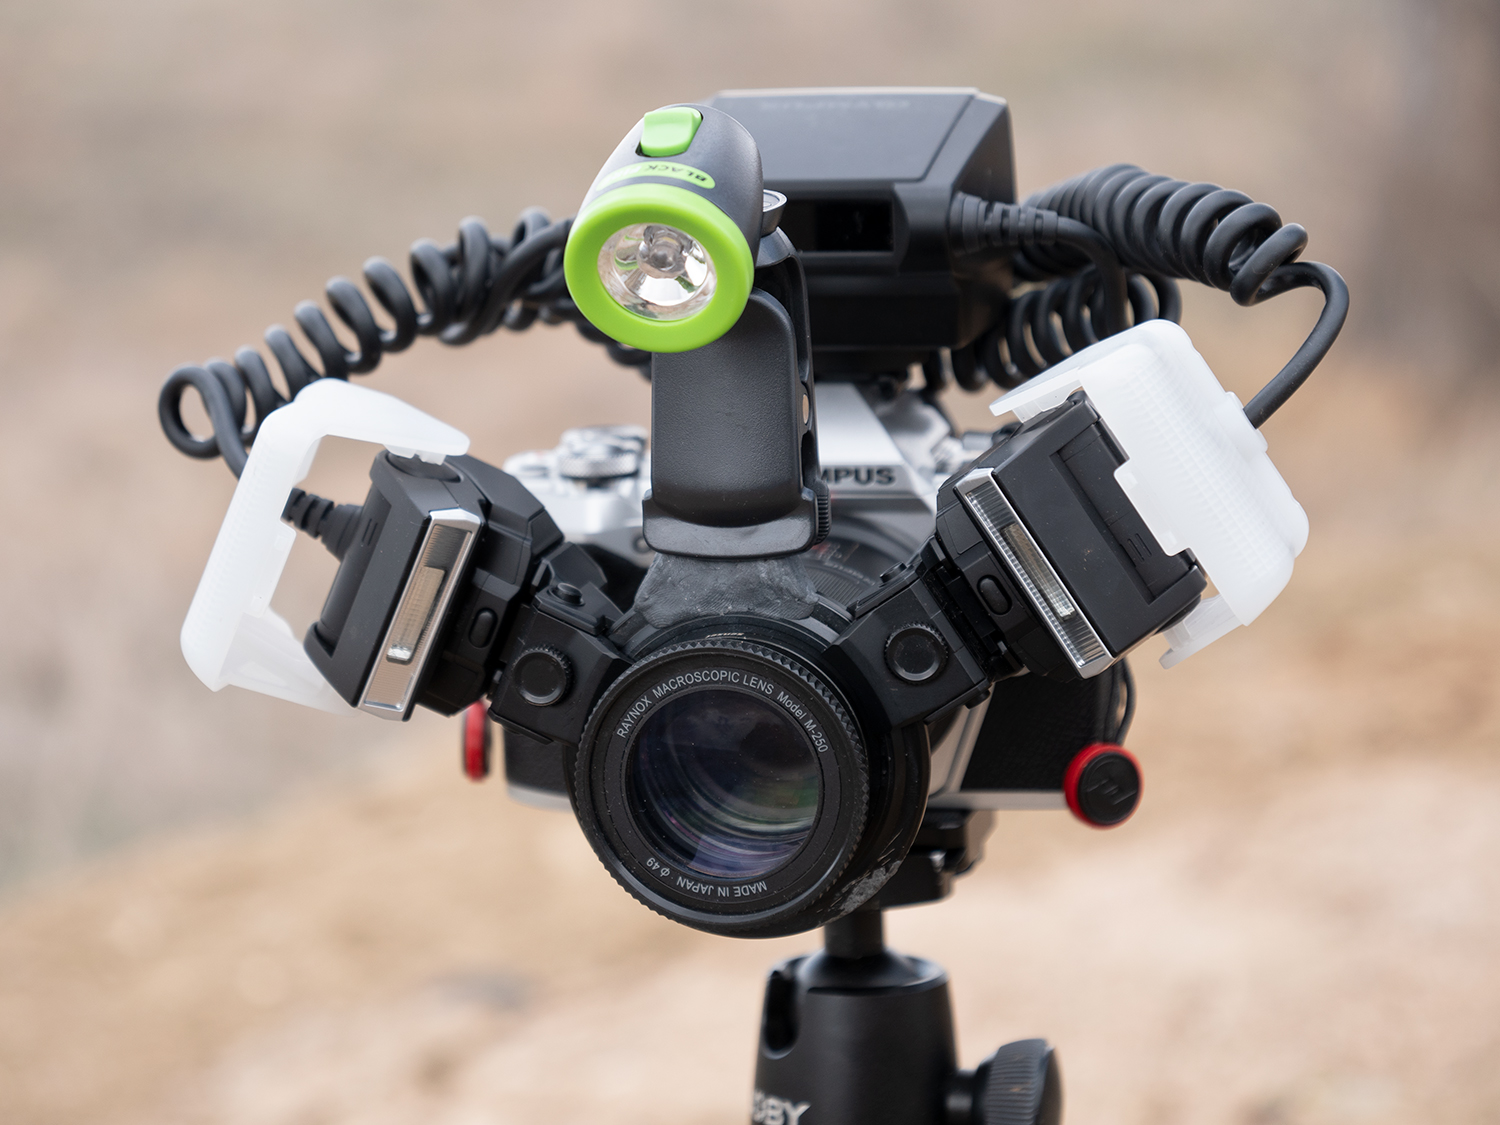
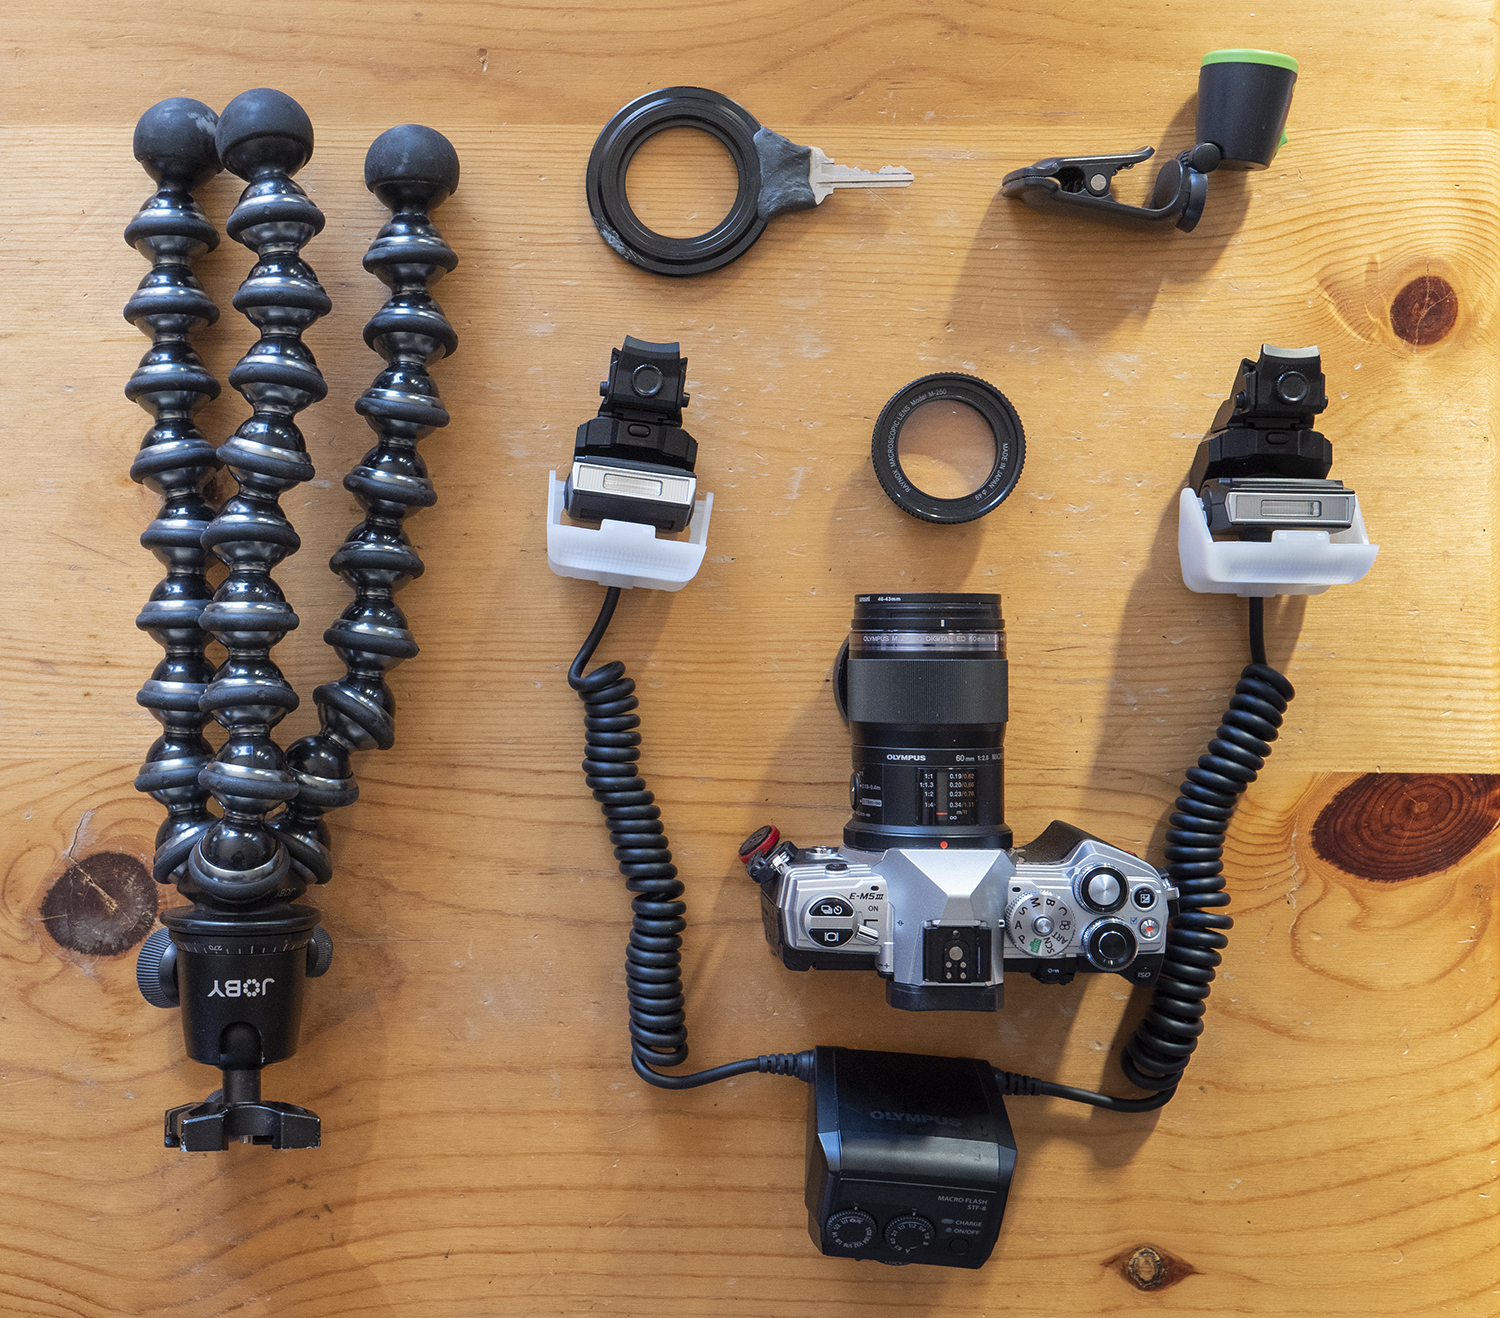
 • Camera: Olympus OM-D E-M5 Mk III
The macro-centric features of this tiny, lightweight camera are automatic focus bracketing, articulating screen, and in-body image stabilization. It’s also an amazing all around nature photography camera with 4k video, hi-res mode that outputs bonafide 50 mp RAW images, pro-capture mode that captures 14 shots before and after the shutter button was pressed, and live-composite mode to capture in-camera star trails.
• Lens: Olympus M.Zuiko 60mm f/2.8 Macro Lens
This is Olympus’ system macro lens that’s compatible with focus bracketing. It’s equivalent to 120mm in full-frame and produces 2x effective magnification. Image quality is superb, it’s surprisingly small and lightweight, and it costs half the price of a full-frame macro lens.
• Magnification Booster: Raynox 250
This inexpensive tool turns the already good Olympus system into a macro photography powerhouse by increasing magnification to 3x without loosing light transmission or aperture control. You simply screw it on the end of the macro lens by using a 46-43mm step-down ring. 3x magnification is strong enough to fill the whole frame with a tiny jumping spider, with its multiple eyes in sharp splendor. Despite its low price, the Raynox 250 yields great IQ because it adds an achromatic element that corrects chromatic aberration.
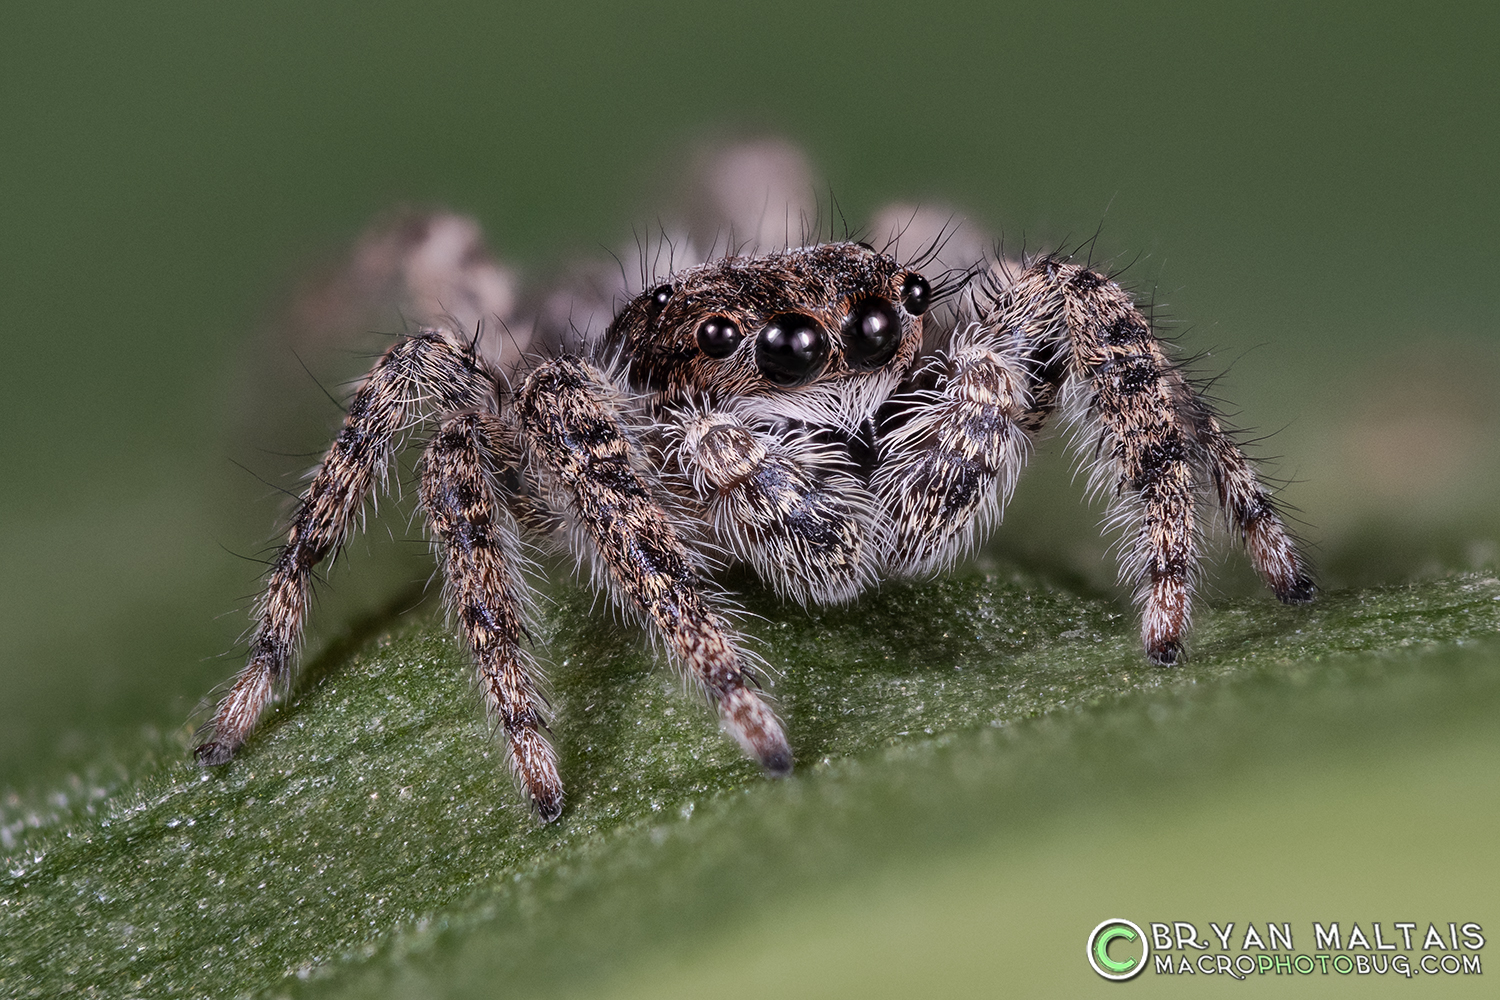
The Raynox 250 produces the additional magnification needed to fill the whole frame with tiny subjects
• Flash: Olympus STF-8
This is a macro twin flash that mounts to the end of several micro four thirds lenses with the included adapter rings. It also integrates with automatic focus bracketing. Double flash heads eliminate directional shadows and the integrated diffusers soften the flash. Each flash head can be independently angled to shoot tiny subjects right in front of the lens, or larger ones farther away. Simple, physical dials are located on the flash body to make fast adjustments, in lieu of a digital menu. Most importantly, the flash recycle time between shots is very fast. It reliably fires without missing frames during long focus stacks with only a .05 sec recharge time between shots. I’ve used macro flashes from other systems that have failed during focus stacking due to poor recycle times. The STF-8 is brilliant to work with, but it is rather expensive. I’ve tried budget/DIY flash systems before, but they were more complicated to set up with a clumsy size.
-
- Olympus STF-8 macro flash produces even light with built in diffusers
-
- Good recycle time helps during rapid shooting and focus bracketing
• Stacking Program: Zerene Stacker
Zerene is my stackware of choice because, while most stacking apps perform equally well, Zerene’s license is the best value. The one-time license fee for the standard version includes lifetime upgrades and essential features like layer blending without having to upgrade to a more expensive version. Beneath the austere interface lie all of the tools needed to produce stunning stacked images. Zerene is a one-person operation based in America.
-
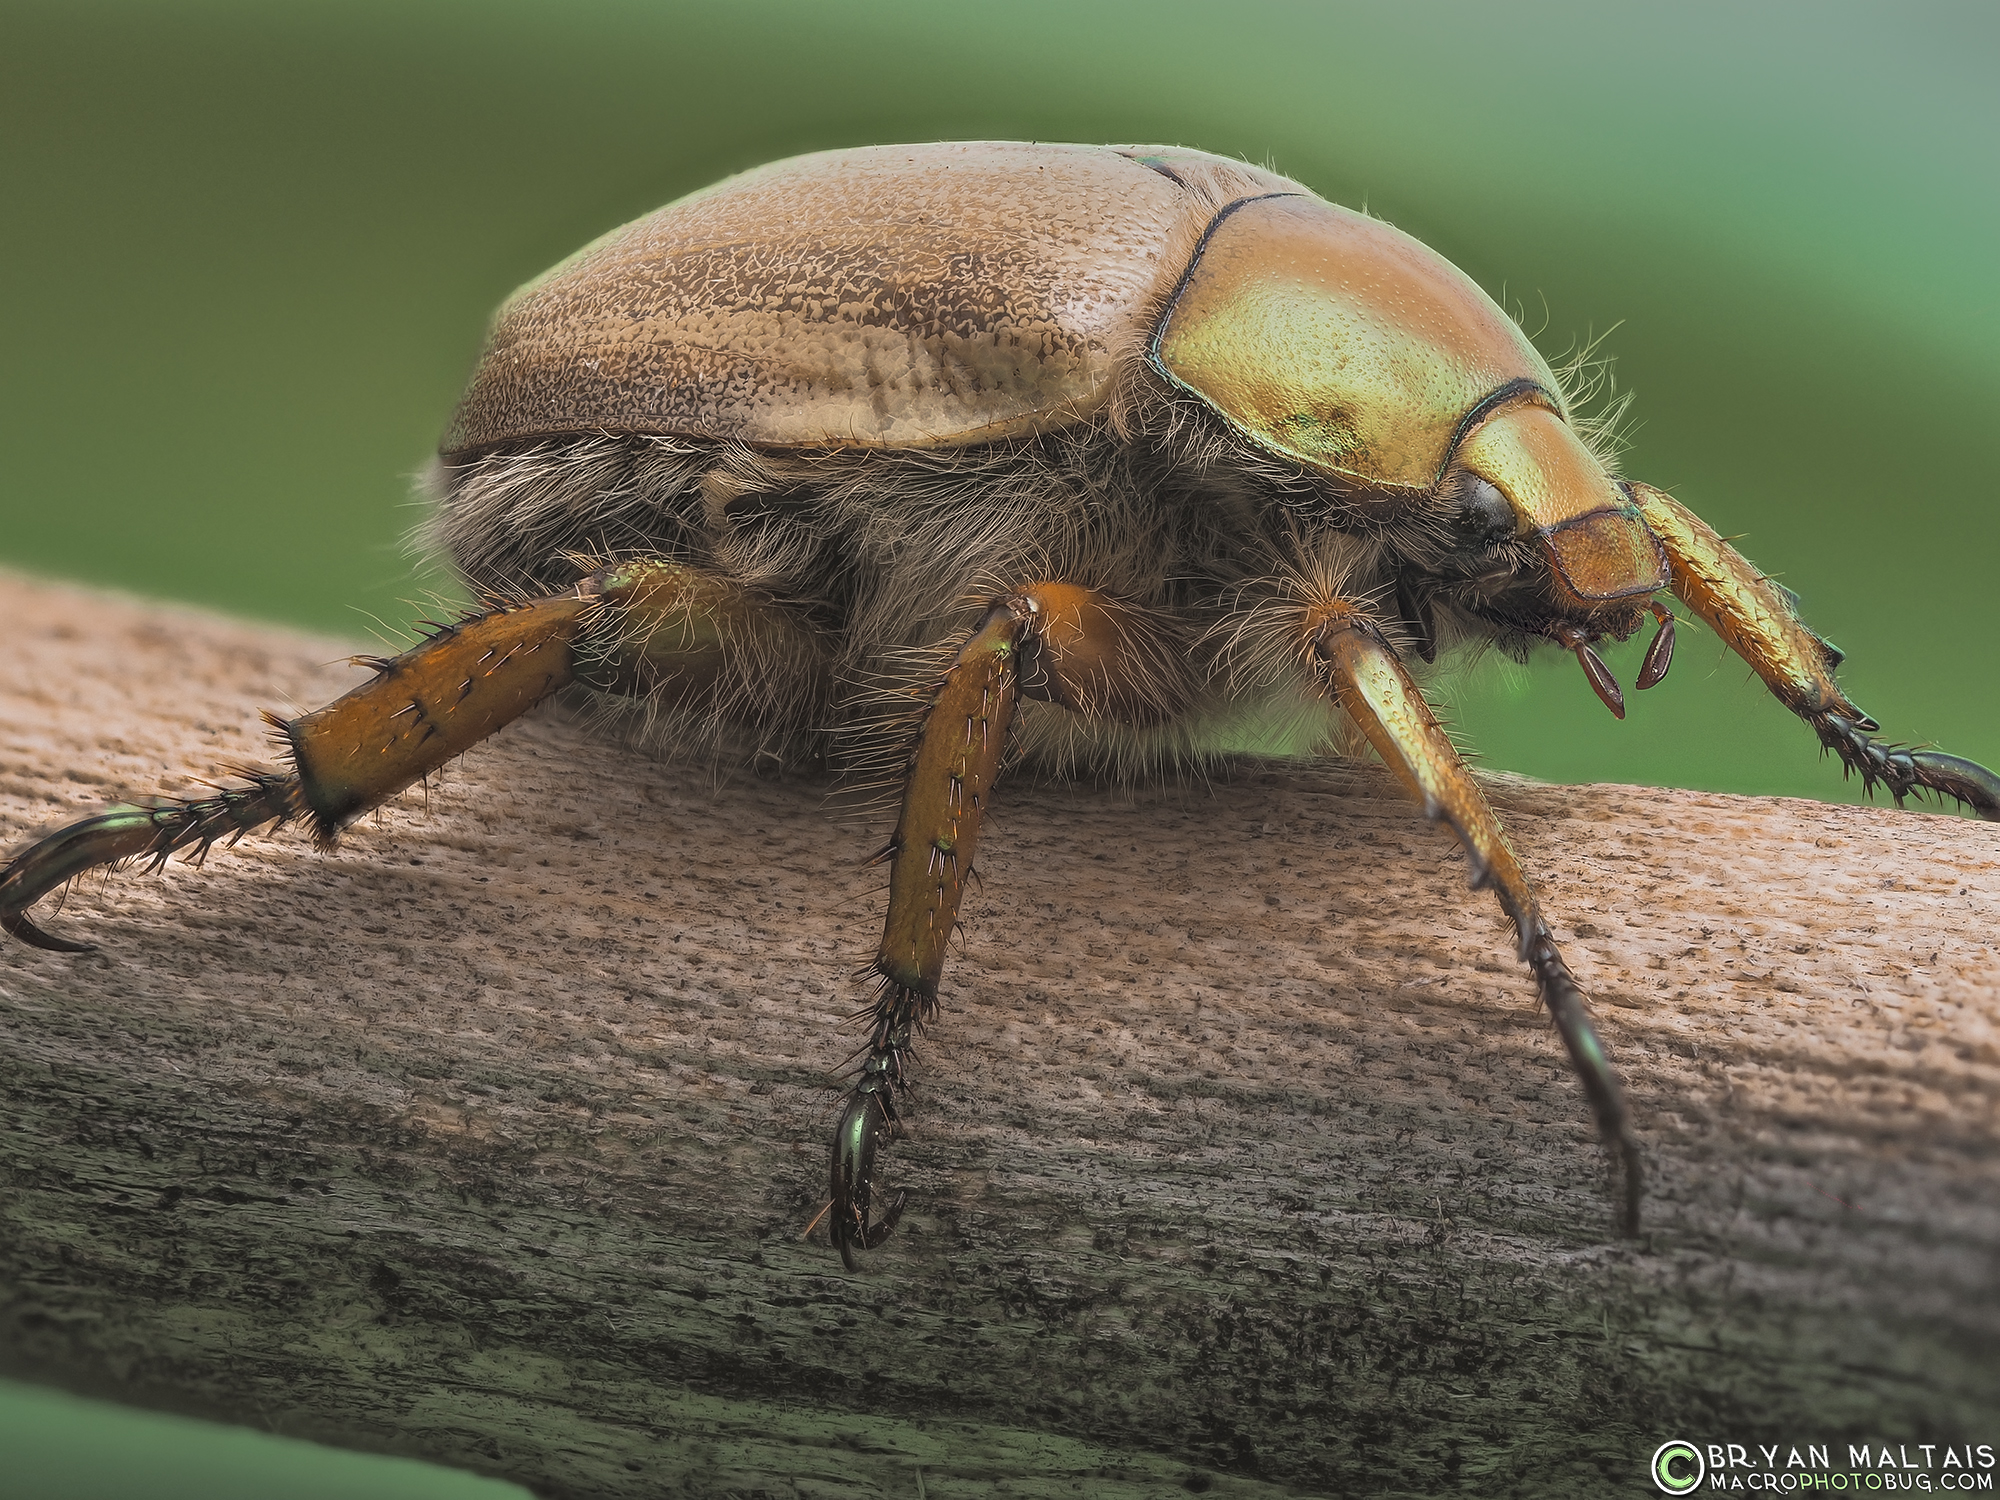
- Zerene Stacker created this composite of 22 images with every hair in focus
-
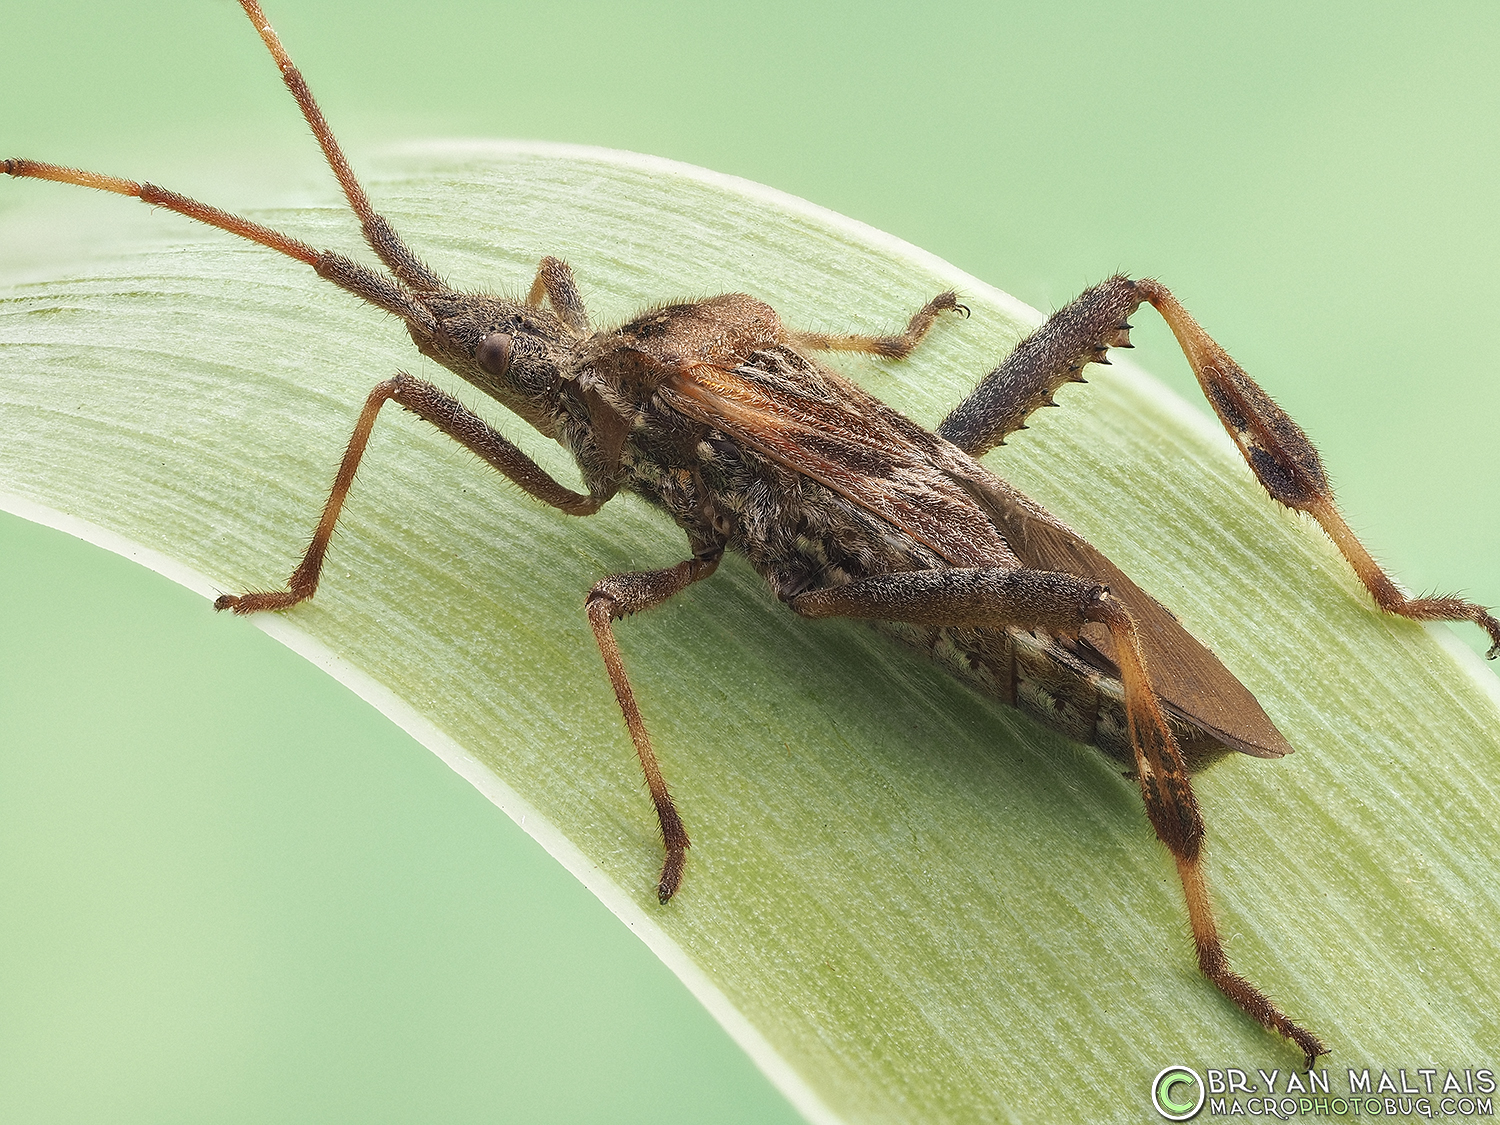
- This is a stack of 30 images
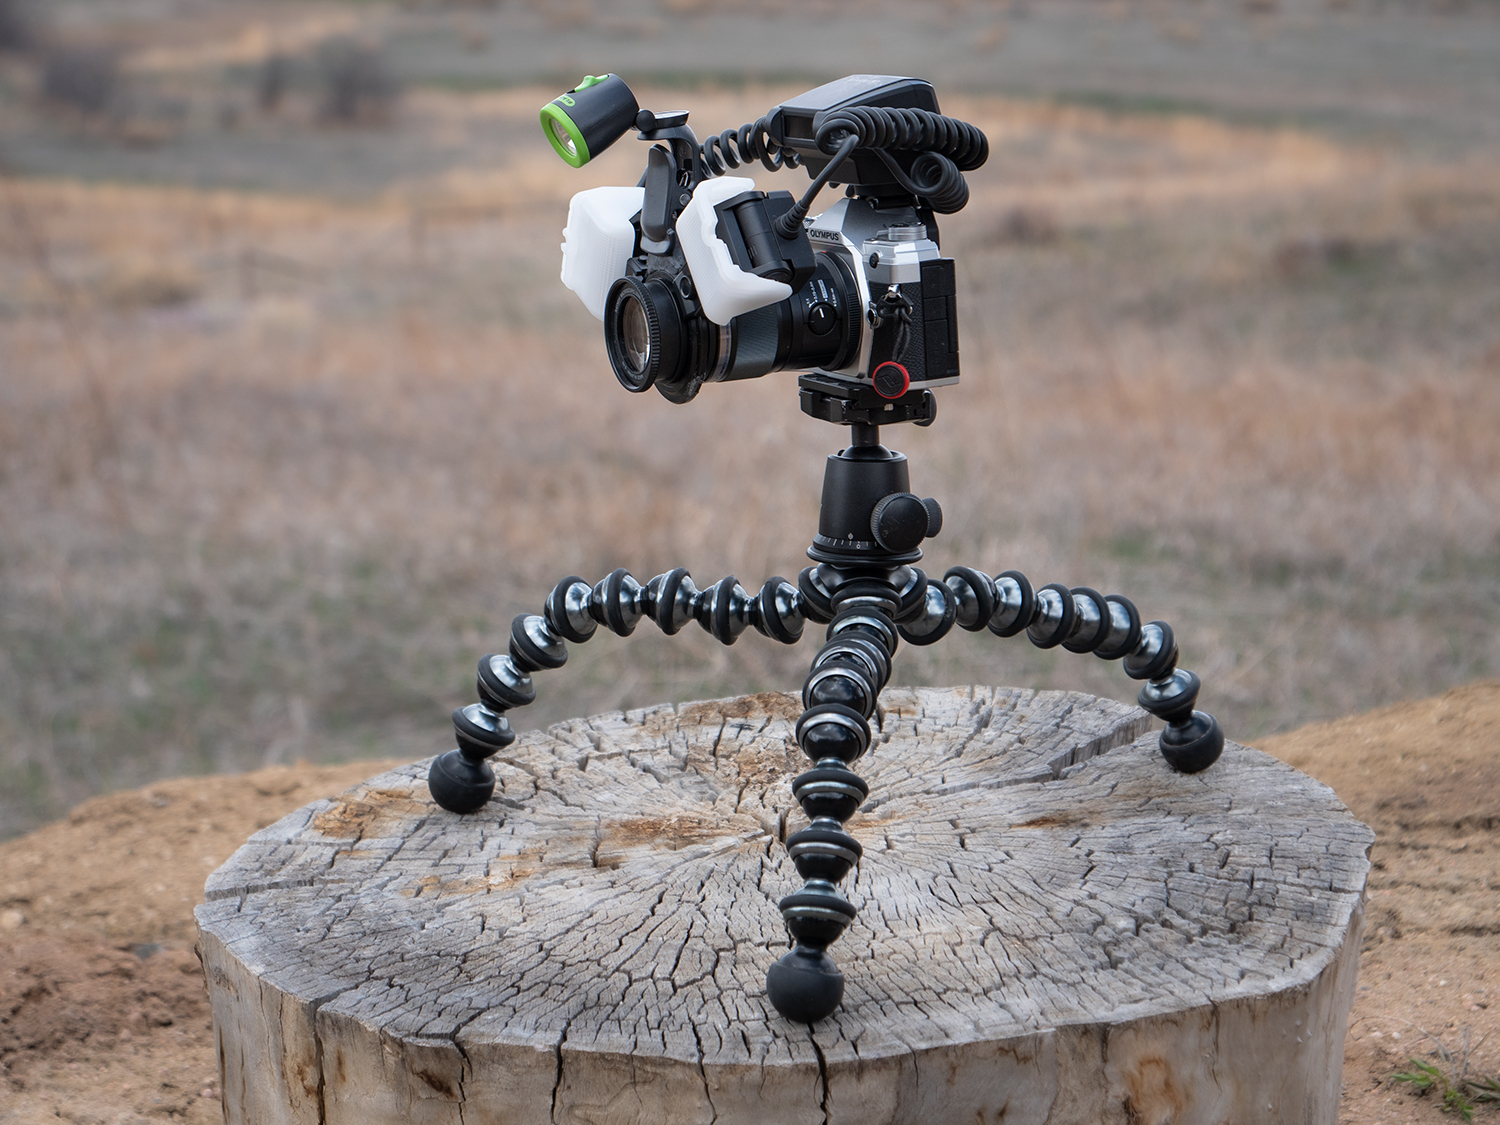
• Tripod: Gorillapod 5k Mini Tripod
Since most macro photography subjects are on the ground, this is the ultimate tripod for low-down set up without time-consuming knobs to fiddle with. It can also be wrapped around a tree branch for higher shots. I prefer the largest in Gorillapod’s lineup because it can fold right down against the ground while still standing over a foot tall.
• Memory Card: Sony 64 GB Uhs-II Class 10 U3
This is a high-end card, but you might as well future proof yourself. Its write times are blazing fast to keep up with high image count focus brackets, as well as 4k video. Its likewise fast read times allow instant review of images without having to wait for them to load, and image transfer to your computer is lightning fast. Spring for the higher capacity 128 GB if you can for more shooting between swaps.
• Night Focusing Light: Blackfire Clip-on
When photographing at night you need to illuminate your subject so the camera can focus on it. Hand-holding a flashlight or using a headlamp that you’re wearing are clumsy methods. I devised a DIY solution by creating a mount for a clip-on light out of JB Weld Steel Stik and a house key that are bonded to macro flash ring. After scouring Amazon I found the perfect clip-on light that fits on the key. The light has an adjustable angle and I use it particularly to photograph breeding amphibians at night. The JB Weld creates an almost indestructible bond and can even be used to fashion custom parts.
-
- A clip-on flashlight shines focusing light at night. It attaches to a DIY mount made from epoxy putty and a house key.
-
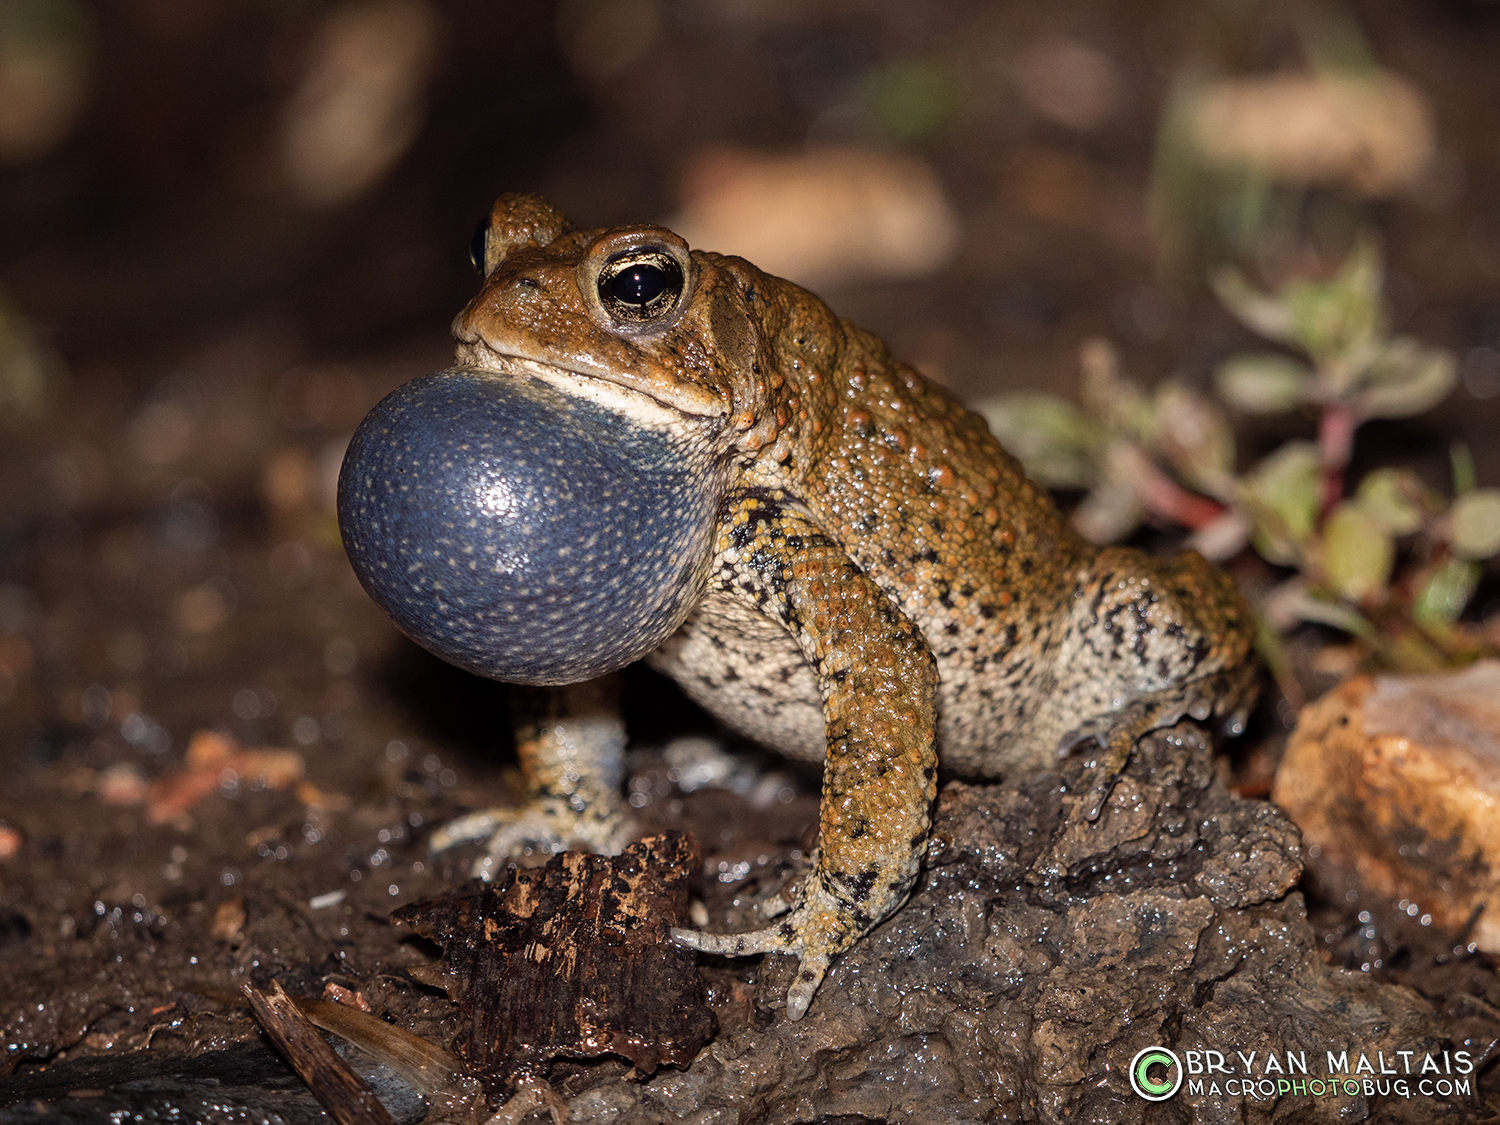
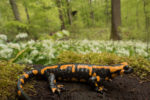
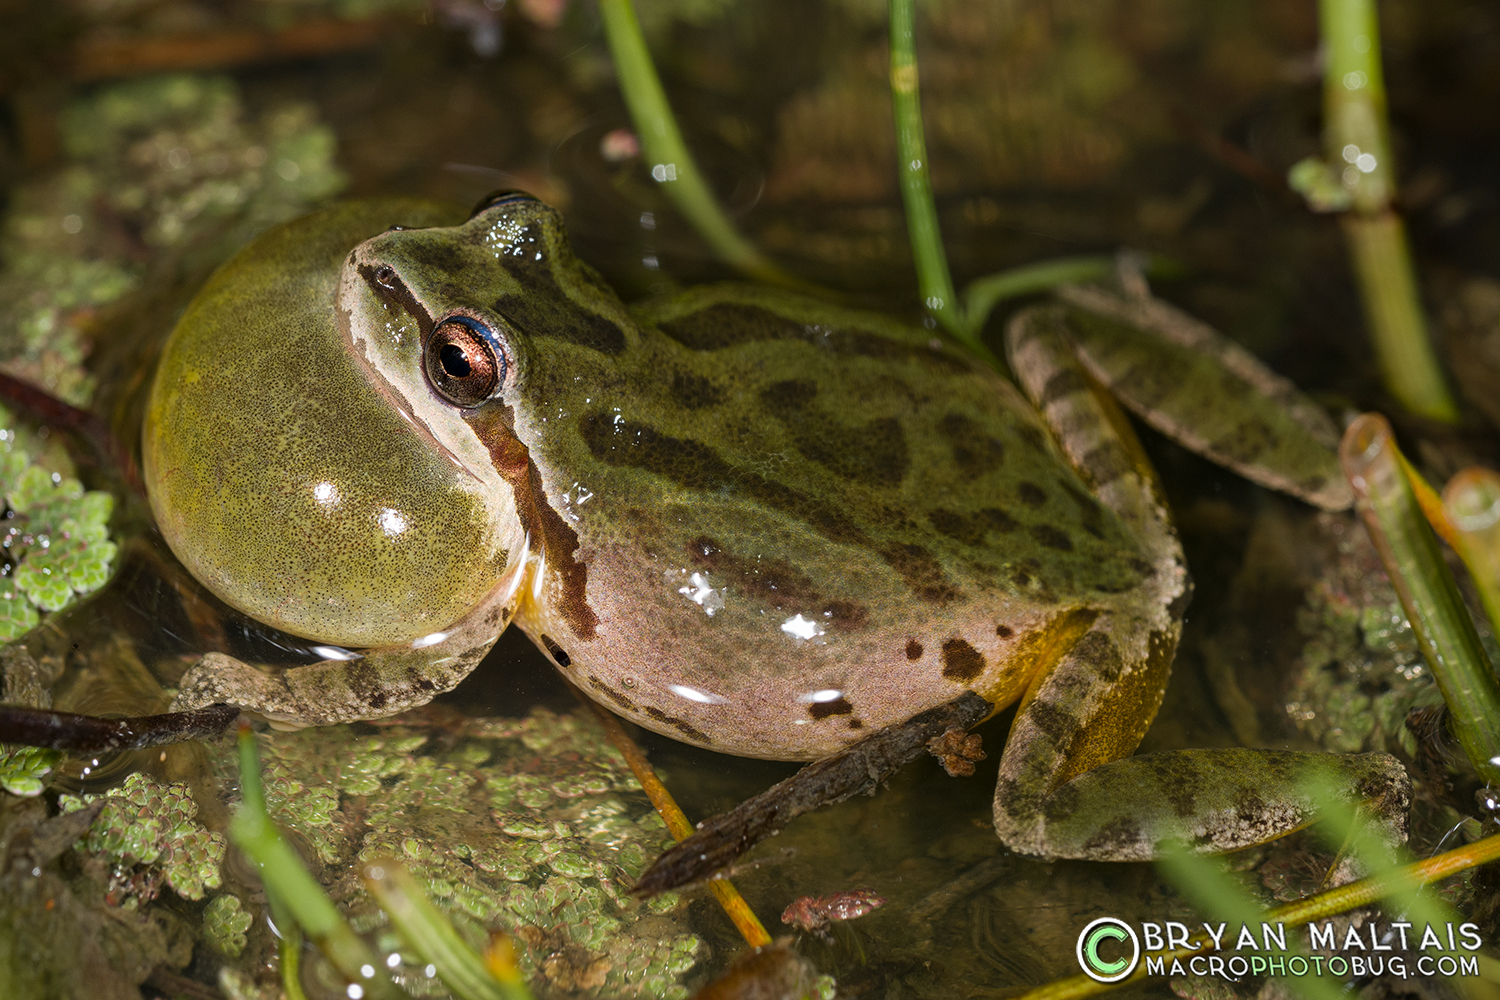
- Flash freezes the motion of a rapidly vibrating vocal sack of this calling American Toad
Olympus Macro-specific Features Explained:
-
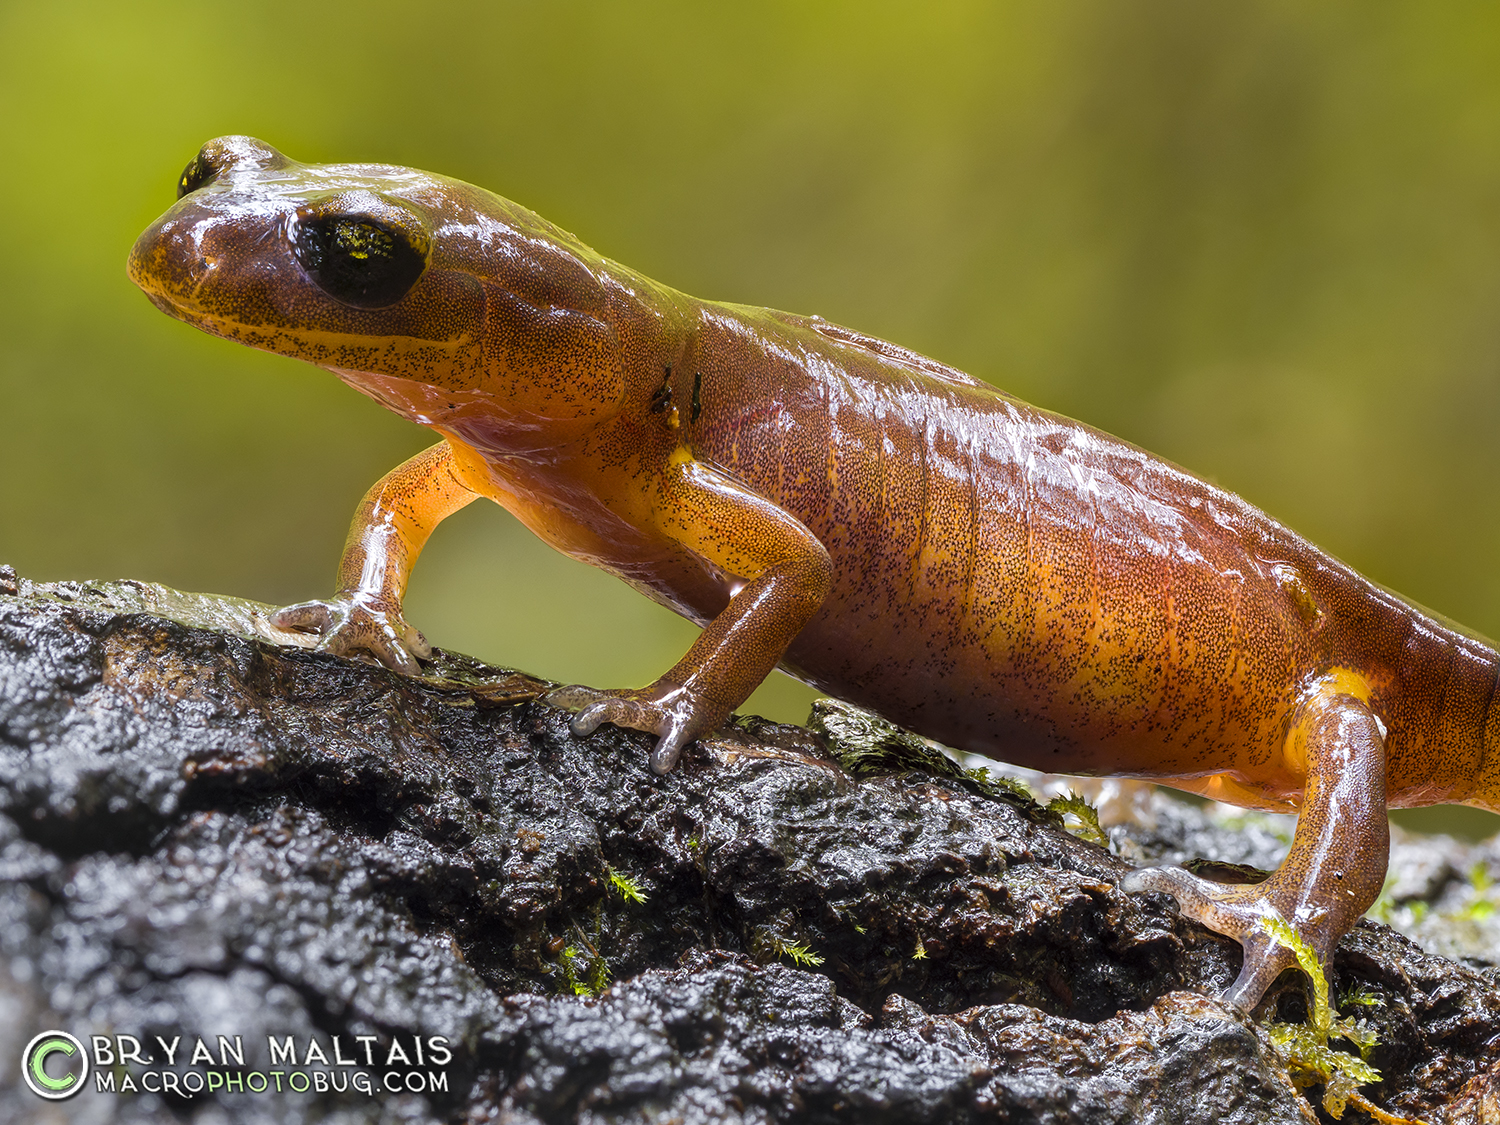
- A focus stack composite of 18 individual images created with in-camera focus bracketing
-
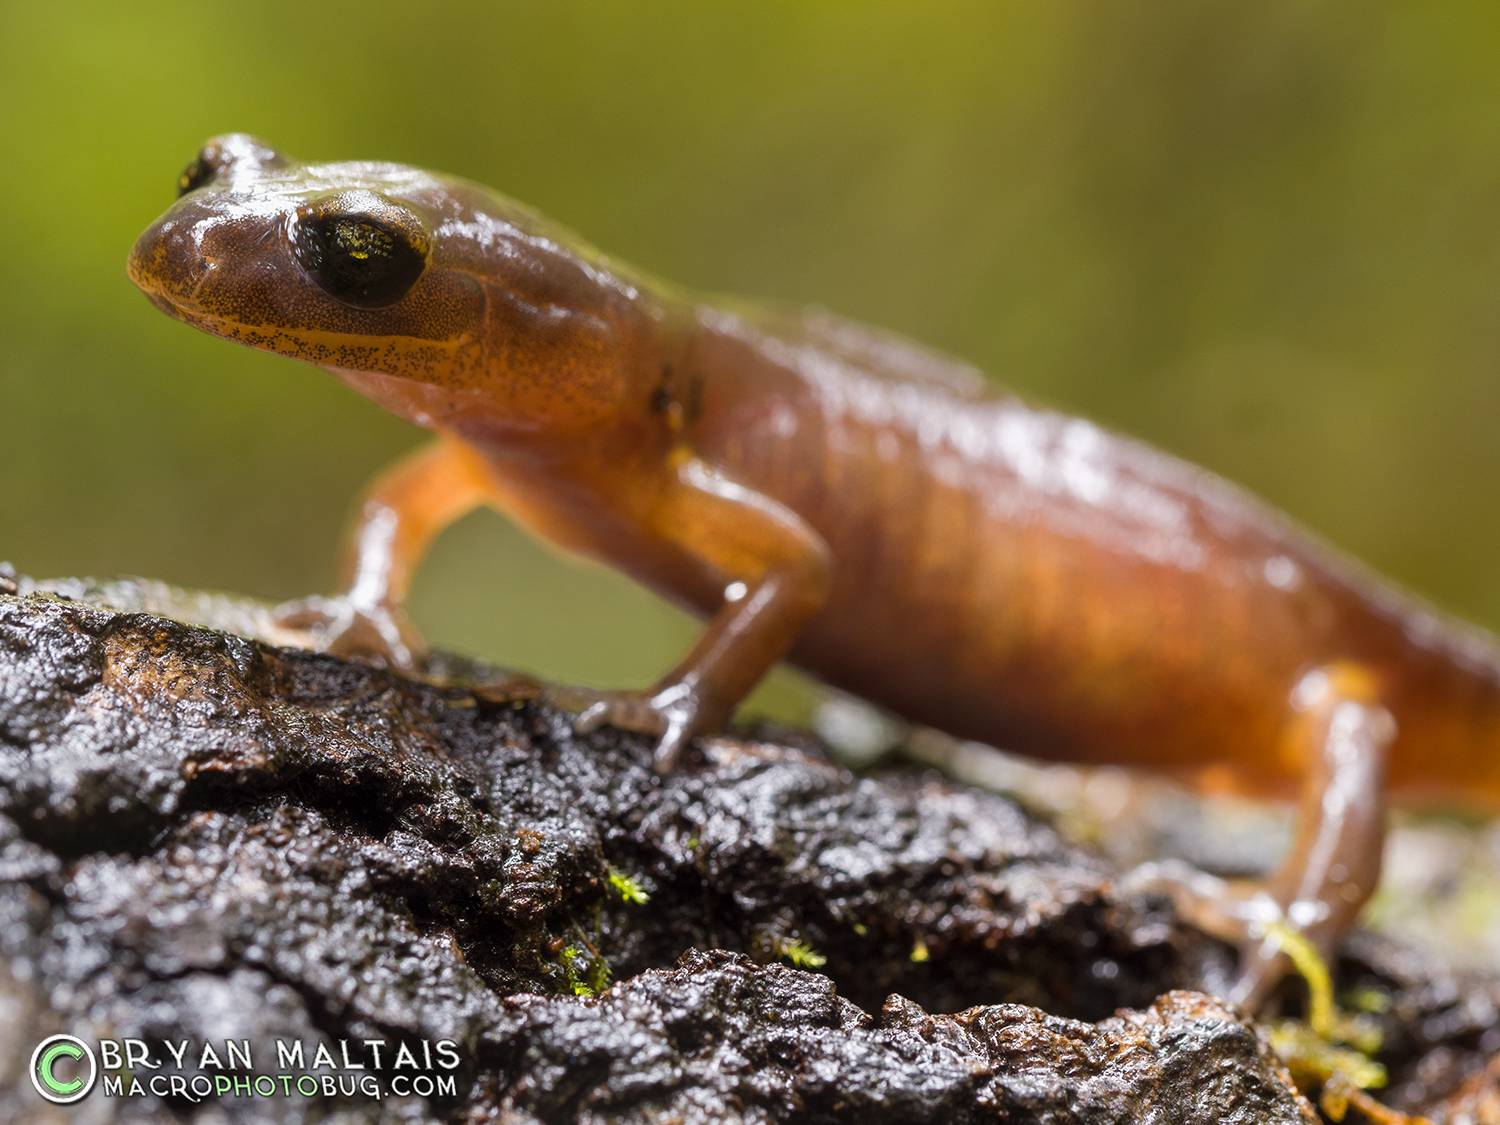
- An individual photo with no focus stacking
• In-camera Focus Bracketing (Focus Stacking)
The most powerful feature that makes certain Olympus camera models so well suited to macro photography is in-camera focus bracketing, which produces a focus stacked composite image. Focus stacking solves 3 problems. First, depth of field (DOF) at macro magnifications is so shallow that it’s impossible for all of your subject to be in focus even with a small aperture. Second, when using a small aperture, bokeh suffers because distracting background objects become visible. Lastly, using small apertures causes diffraction, which causes soft, lower quality images. Focus bracketing allows use of a shallow aperture to preserve bokeh and image sharpness, while achieving more depth of field than using a small aperture.
During focus bracketing the camera automatically shoots a sequence of photos beginning with focus set at the subject’s front and advancing through it’s end. The images are then imported into a stacking app like “Zerene Stacker” or “Helicon Focus”. The app stacks the photos into a composite image with every part of the subject in sharp focus. In-camera focus bracketing is a lightning fast process that only takes a few seconds by making use of the camera’s maximum frame rate. It works best when the camera is fixed and the subject doesn’t move during the focus bracket. Without in-camera focus bracketing you’re relegated to using a focus rail or manually advancing the focus. While this may work fine for dead subjects in a studio, it’s usually too slow for live insects.
To set up focus bracketing on Olympus cameras you set the number of images from 2-999, the focus differential between 1-10, and the recharge time if using flash. You begin by setting the focus point a skosh in front of your subject. For the bracket to successfully reach the rear end of the subject without focus gaps (banding), you’ll need to determine the right combination of focus differential and number of shots through practice. Focus bracketing is only compatible with specific Olympus lenses, including their 30 and 60mm macro lenses. A wide aperture should be used to preserve good bokeh and avoid diffraction. I prefer f/4 when using the Olympus M. Zuiko 60mm macro lens, but f/2.8 and f/5.6 are also good options for different conditions. The end result of a correctly executed stack is a jaw-dropping, highly detailed image with beautiful background bokeh.
-

- Focus stack composite of 17 images using Zerene Stacker app and Olympus in-camera focus bracketing
-
- Individual image from focus bracketed sequence of 17 images
• Small Size and Weight
Olympus MFT cameras are roughly half the size and weight of equivalent DSLR systems. That’s a lot of size and weight savings over a full-frame camera once you consider the flash and macro lens. A smaller, lighter setup is more maneuverable through thickets of undergrowth where tiny things live, less frighting to them, and lessens user fatigue on a day’s excursion.
-
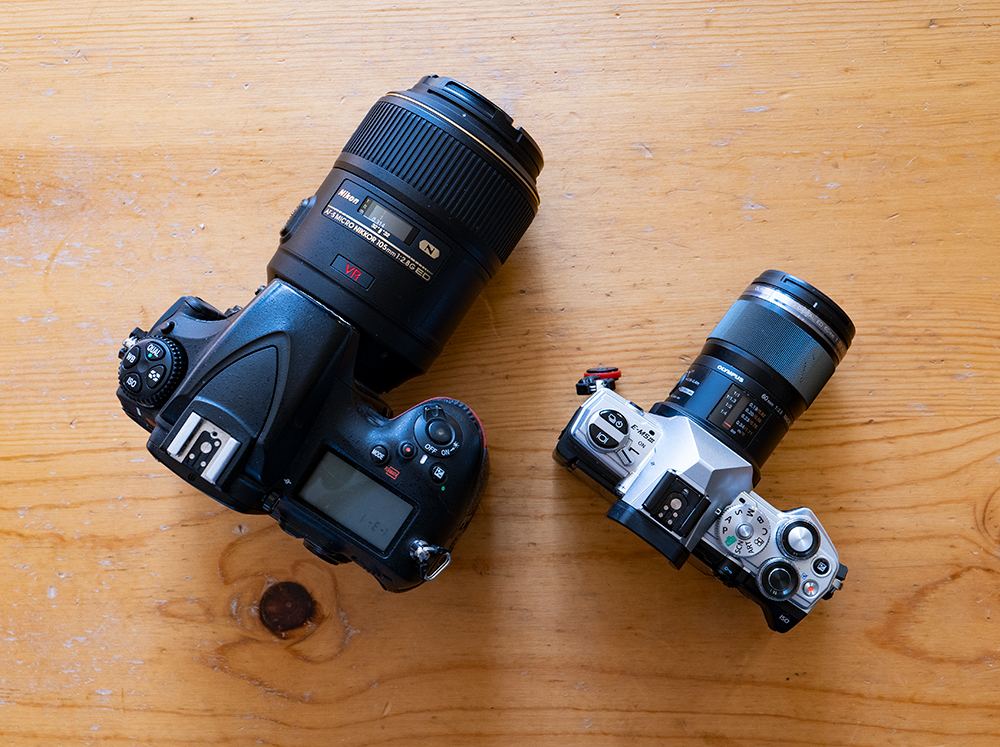
- Size comparison of Full Frame and Micro Four Thirds
-
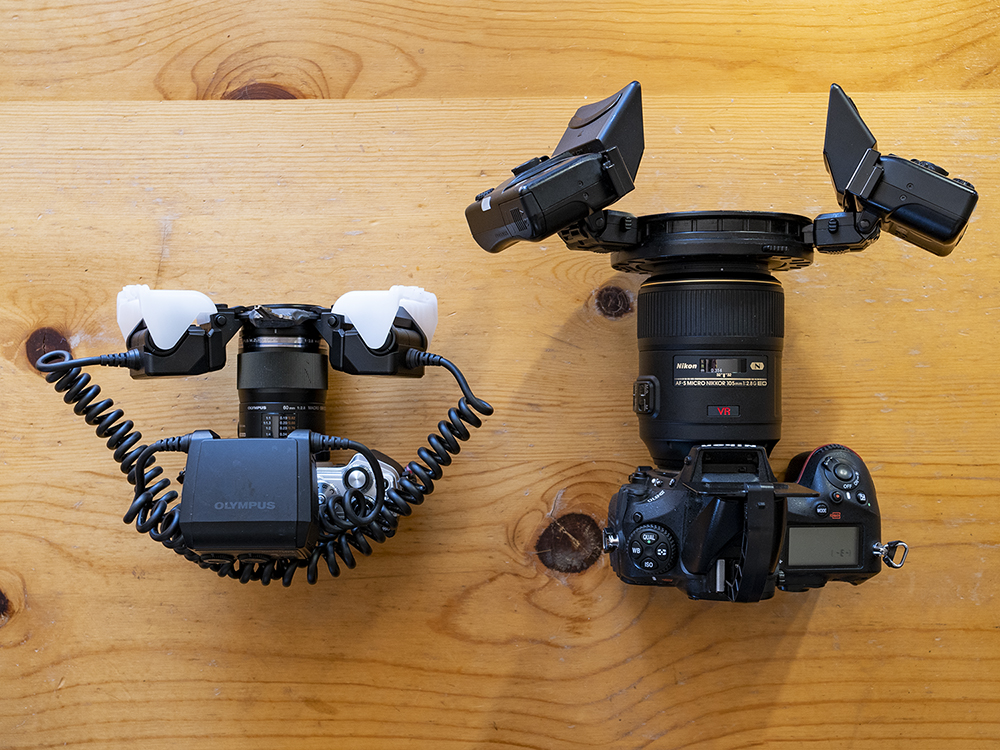
- Size comparison with system macro flashes mounted
• 2x Magnification
The Olympus micro four thirds (MFT) sensor is half the size of a full frame sensor, so you glean 2x effective magnification and DOF over full frame. The 2x magnification of a 20mp MFT camera is the same as cropping a 40 mp FF image in half, therefore the magnification is “effective” instead of actual. Photos taken with a full frame camera and standard macro lens usually need to be cropped by 50% anyway because the subject would otherwise be too small in the center of the frame. Because of this quirk, when shooting at 1x magnification the smaller MFT sensor actually yields the same pixel count as FF sensor, and gives yet more pixels than FF cameras with less than 40mp. So if you’re going to flush half the pixels anyway, you might as well use a smaller camera that only begins with the pixels that you need.
• In-body Image Stabilization
Olympus’s IBIS is good for 5 to 7 stops of stabilization depending on the model. Avoiding motion blur is a huge challenge when hand-holding at high magnification under natural light. IBIS allows you to capture sharp images at a lower ISO that would otherwise be blurred.
• Articulating Tilt Screen
The best photos of insects, and most animals for that matter, are usually taken at eye level instead of looking down on them. With the tilt screen you can place your camera on the ground and simply look down on the screen to compose the shot without having to lay on your belly to look through the viewfinder. This motivates me to capture more photos because I know it will be easier to take them.
-
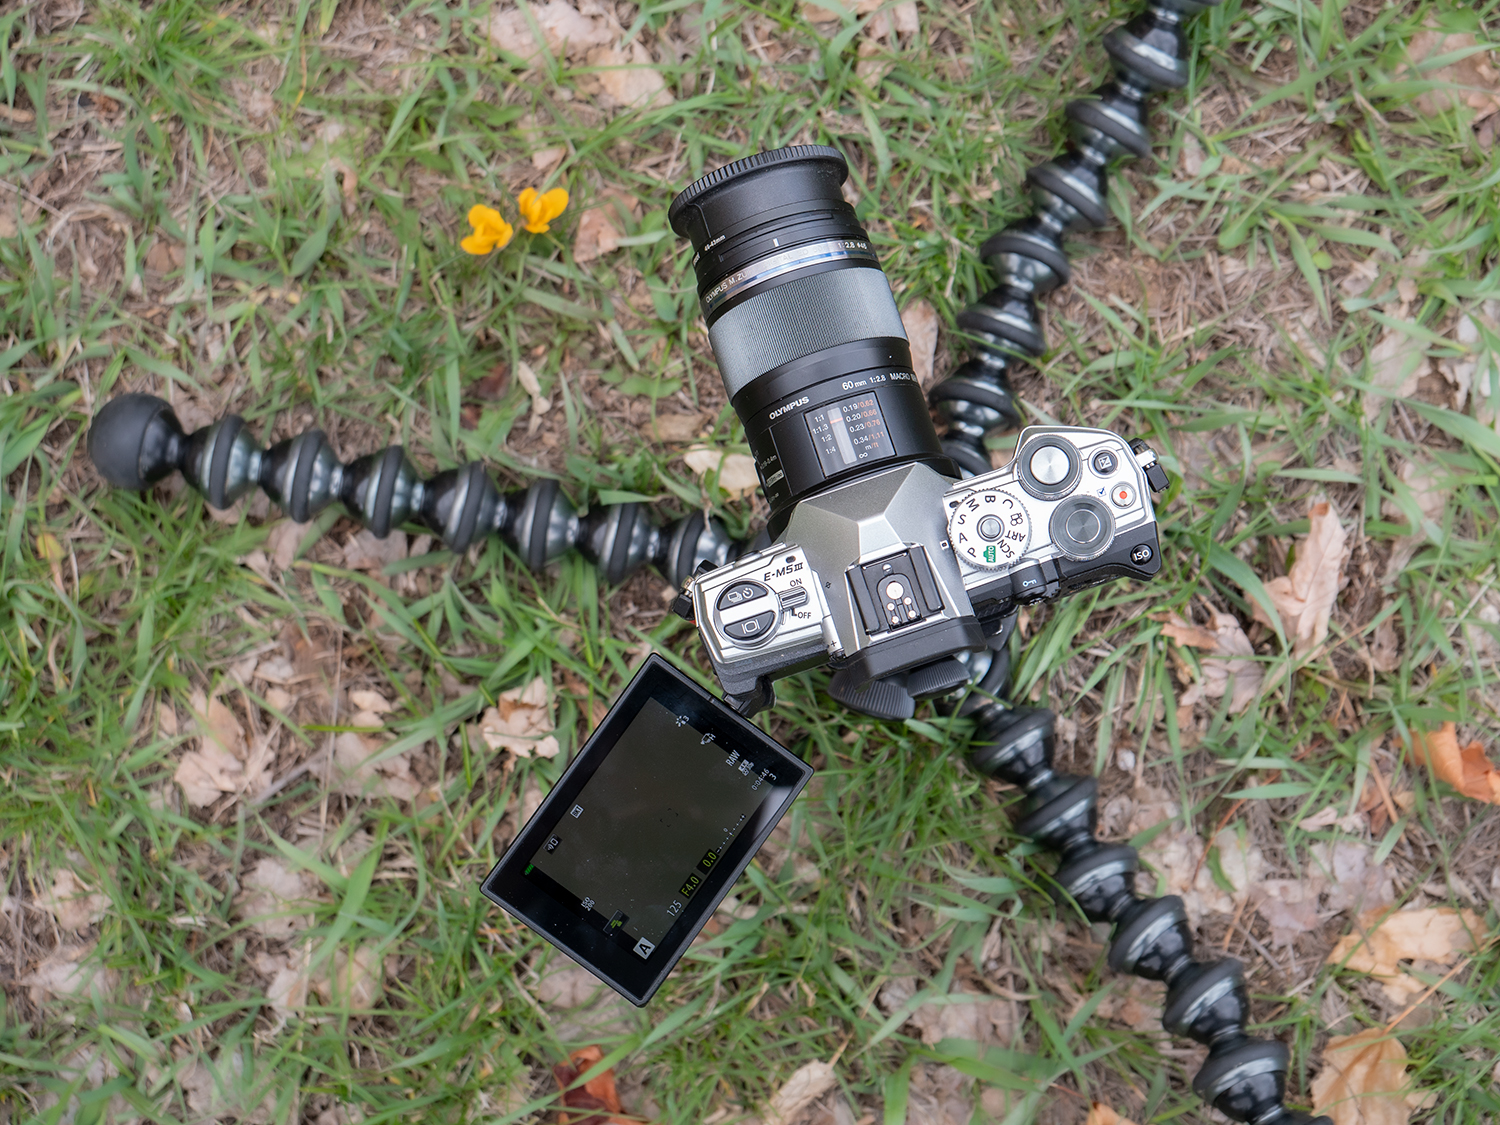
- The articulating screen of Olympus cameras make shots down on the ground much easier to take
-
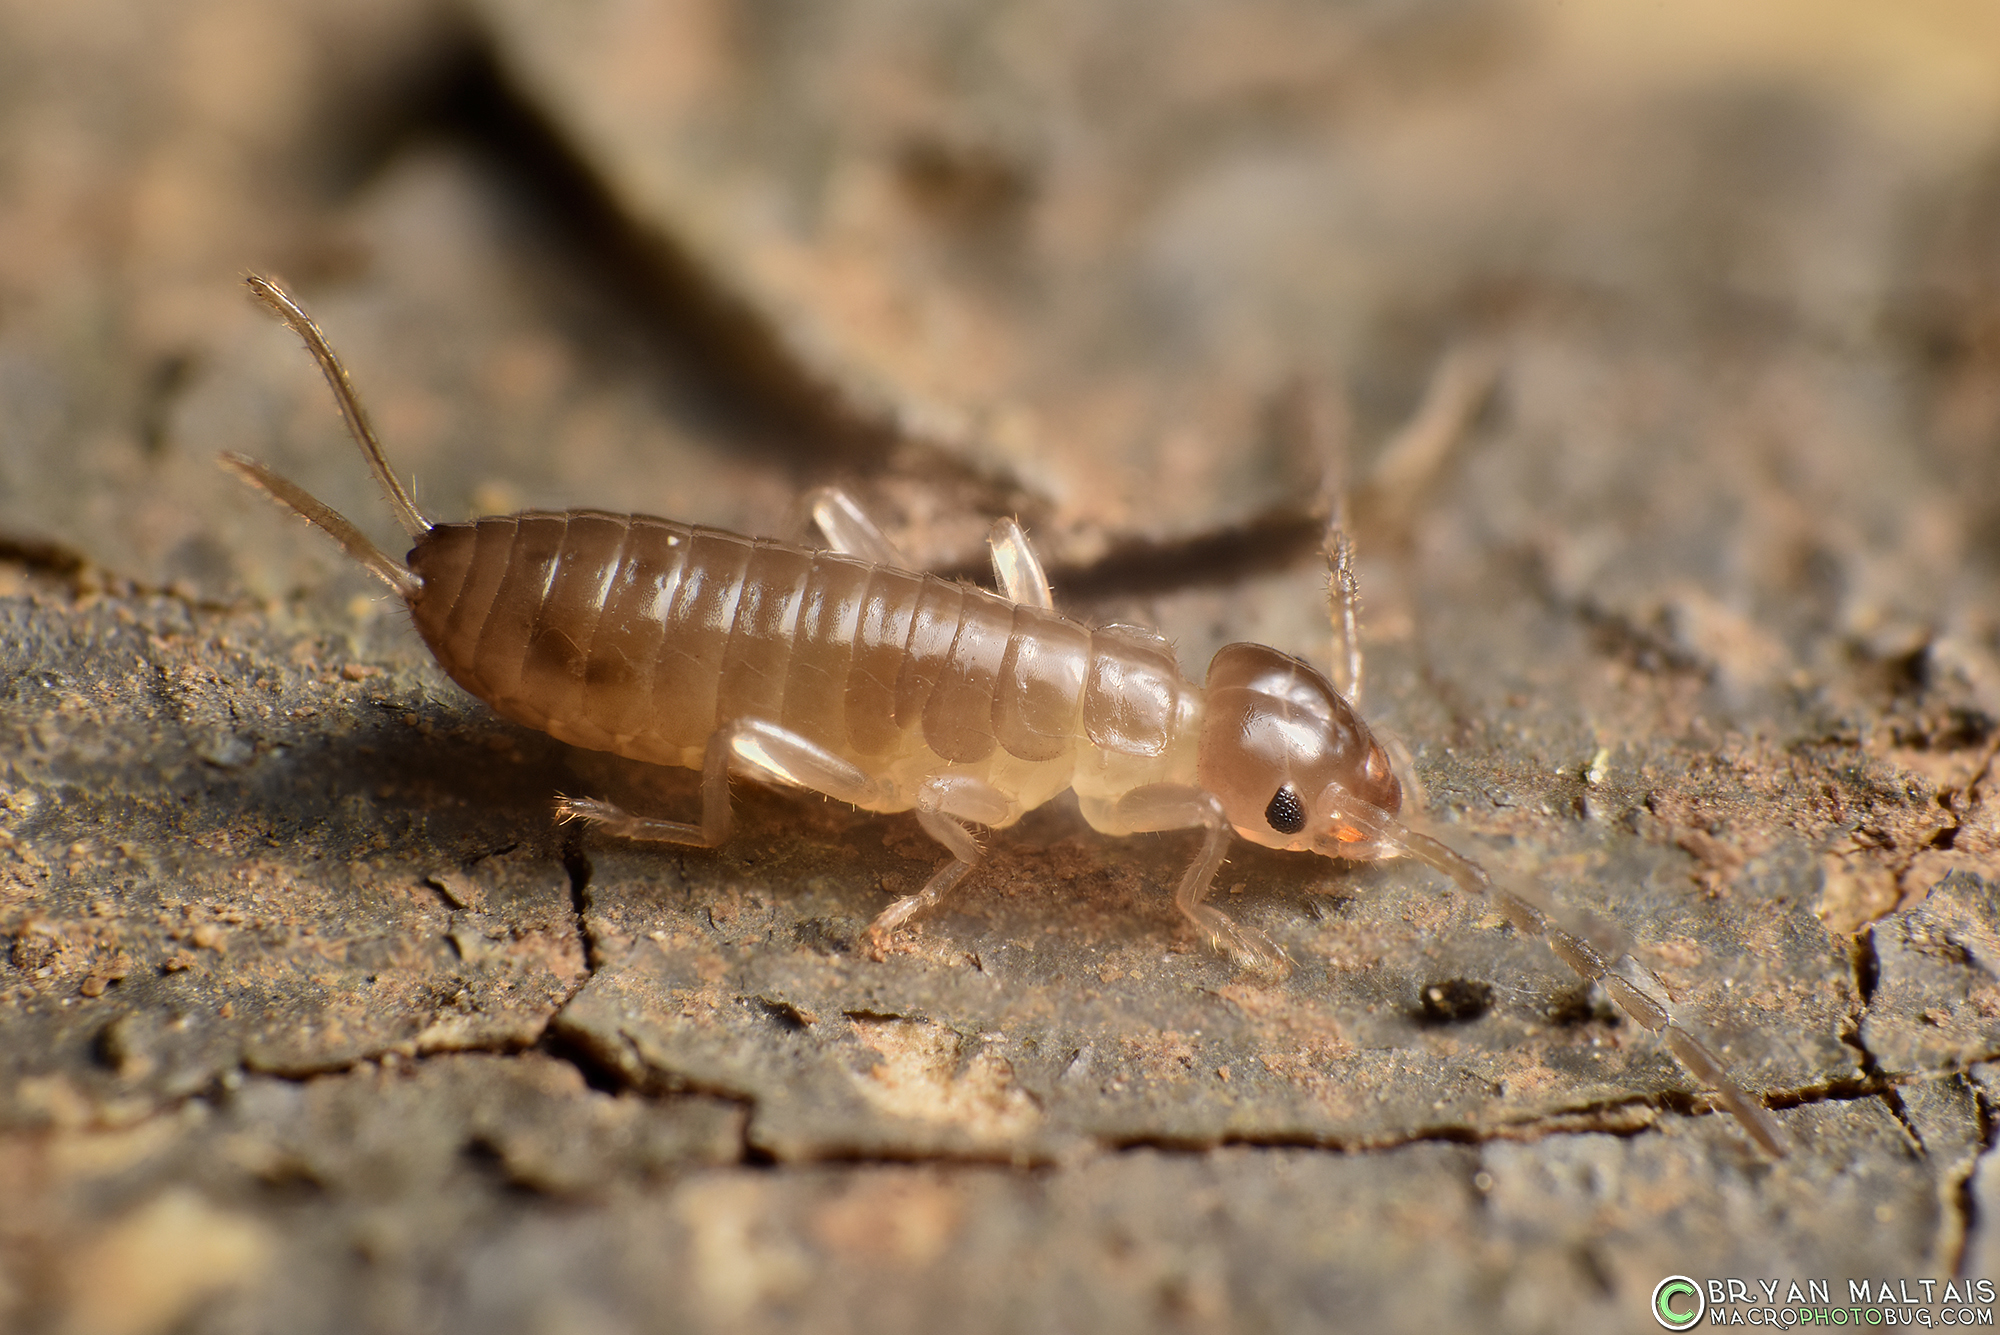
- An articulating screen is great for ground shots like this 4mm long Earwig larva
Which Olympus Cameras are best for Macro Photography?
I’ve included all of Olympus’ current cameras that have in-camera focus bracketing.
1. E-M5 Mk III Best
This is the camera that I use for macro photography. It’s new and powerful with all of the macro-centric features you need, while staying very small and light. Its retro styling is also very handsome. Beyond macro photography, the 50 mp high-res mode is a great tool for landscape photography, live composite mode takes in-camera star trails, and pro-capture mode is powerful for wildlife photography.
2. E-M1 Mk II Tie for best
At 70% heavier than the EM-5 III, the EM-1 II adds more battery life, higher frame rate, and dual memory card slots. Though 4 years older, it shares the same sensor and processor with the new EM-5 III. The choice boils down to whether you prefer the supreme portability of the EM-5 III or the EM-1 II’s additional features that be conducive to other types of photography.
3. E-M5 Mk II Budget
As the outgoing predecessor to the Mk III, the E-M5 Mk II is still a capable budget option. The biggest difference is the E-M5 Mk II has a 16 mp sensor while the Mk III upgrades to 20 mp, and adds moderate technology advancements. The E-M5 Mk II was my focus bracketing workhorse with which I created most of the photos on this website before upgrading to the Mark III.
4. E-M1 Mk III Overkill
This is an expensive model with no advantages specific for macro photography, but top of the line if you have the cash and want every bell and whistle possible.
5. E-M1X Least
This is a high-end, expensive model that has focus bracketing, but is less suitable for macro photography because it’s big and bulky.
-
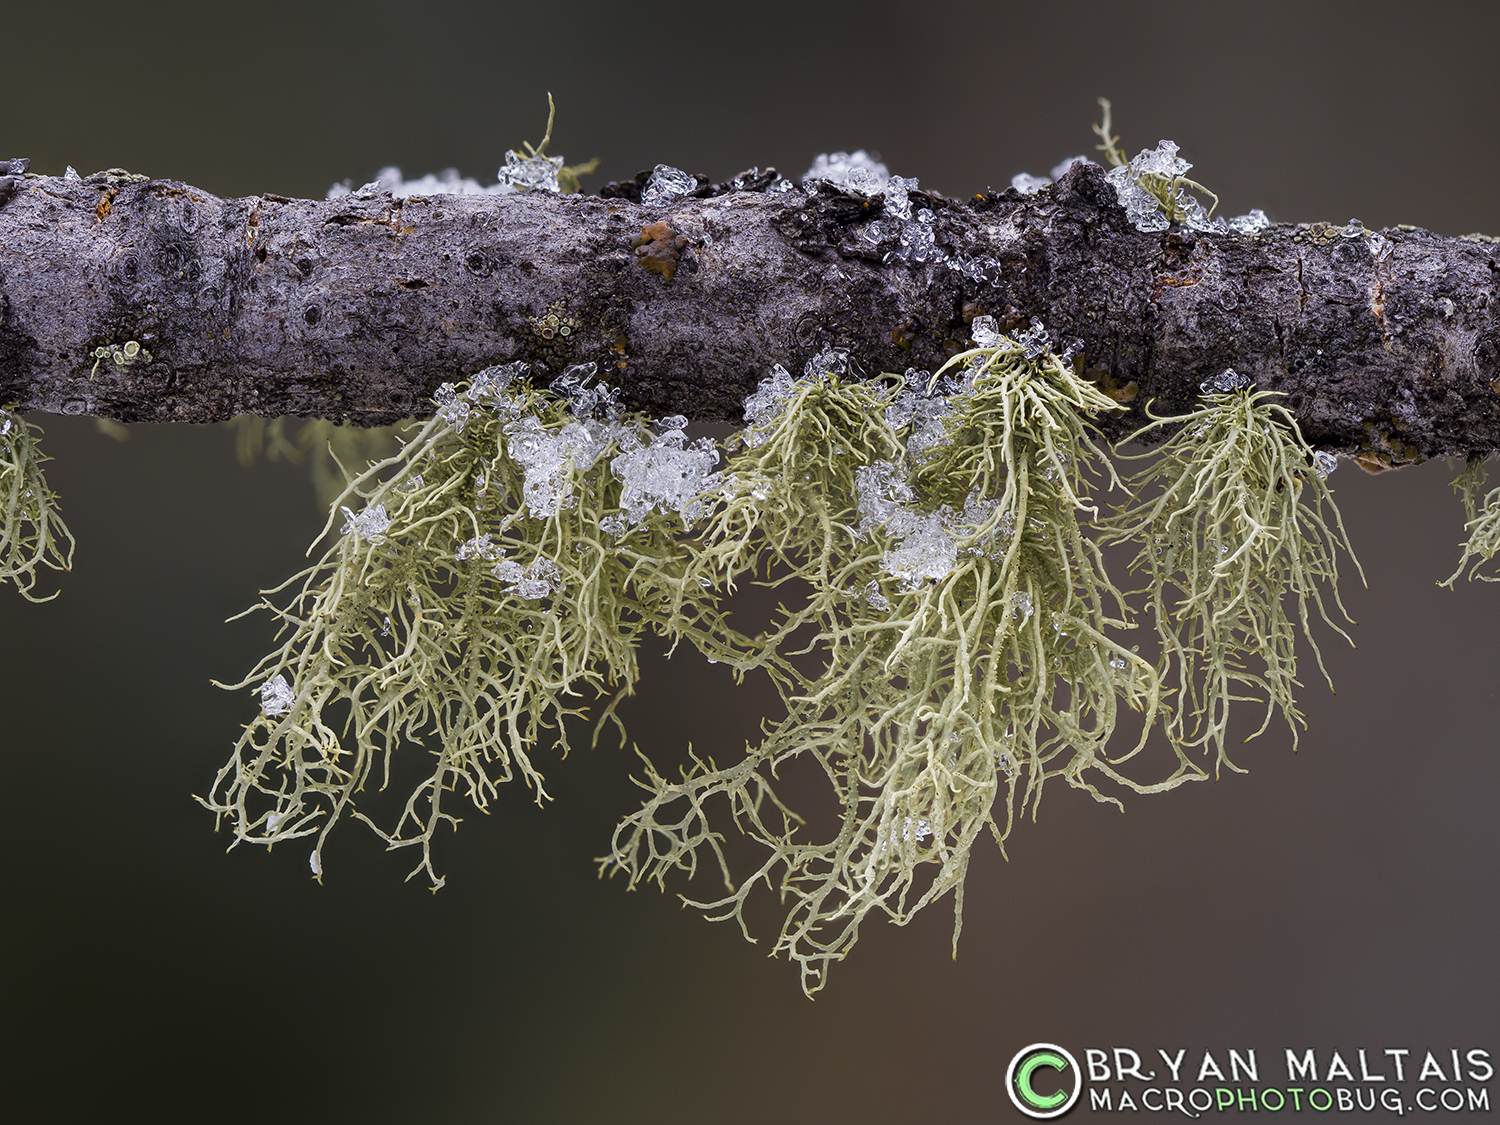
- Reindeer Lichen created with Olympus E-M5 Mk III and 60mm macro lens, 25 stacked images
-
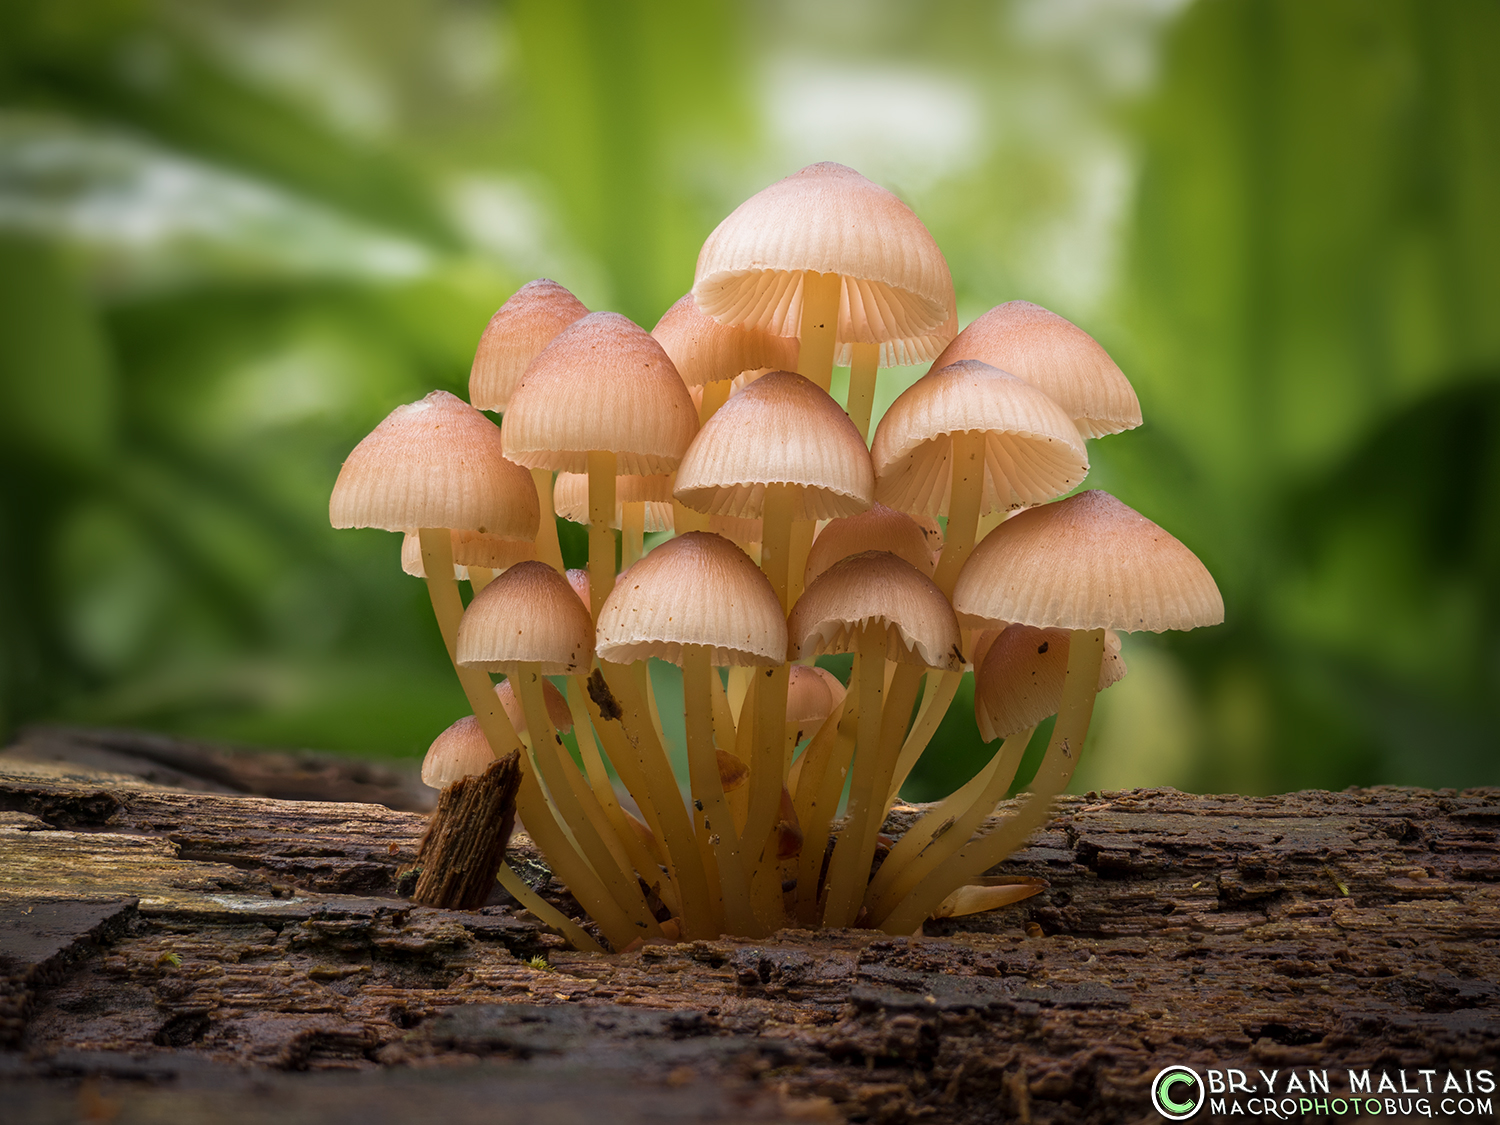
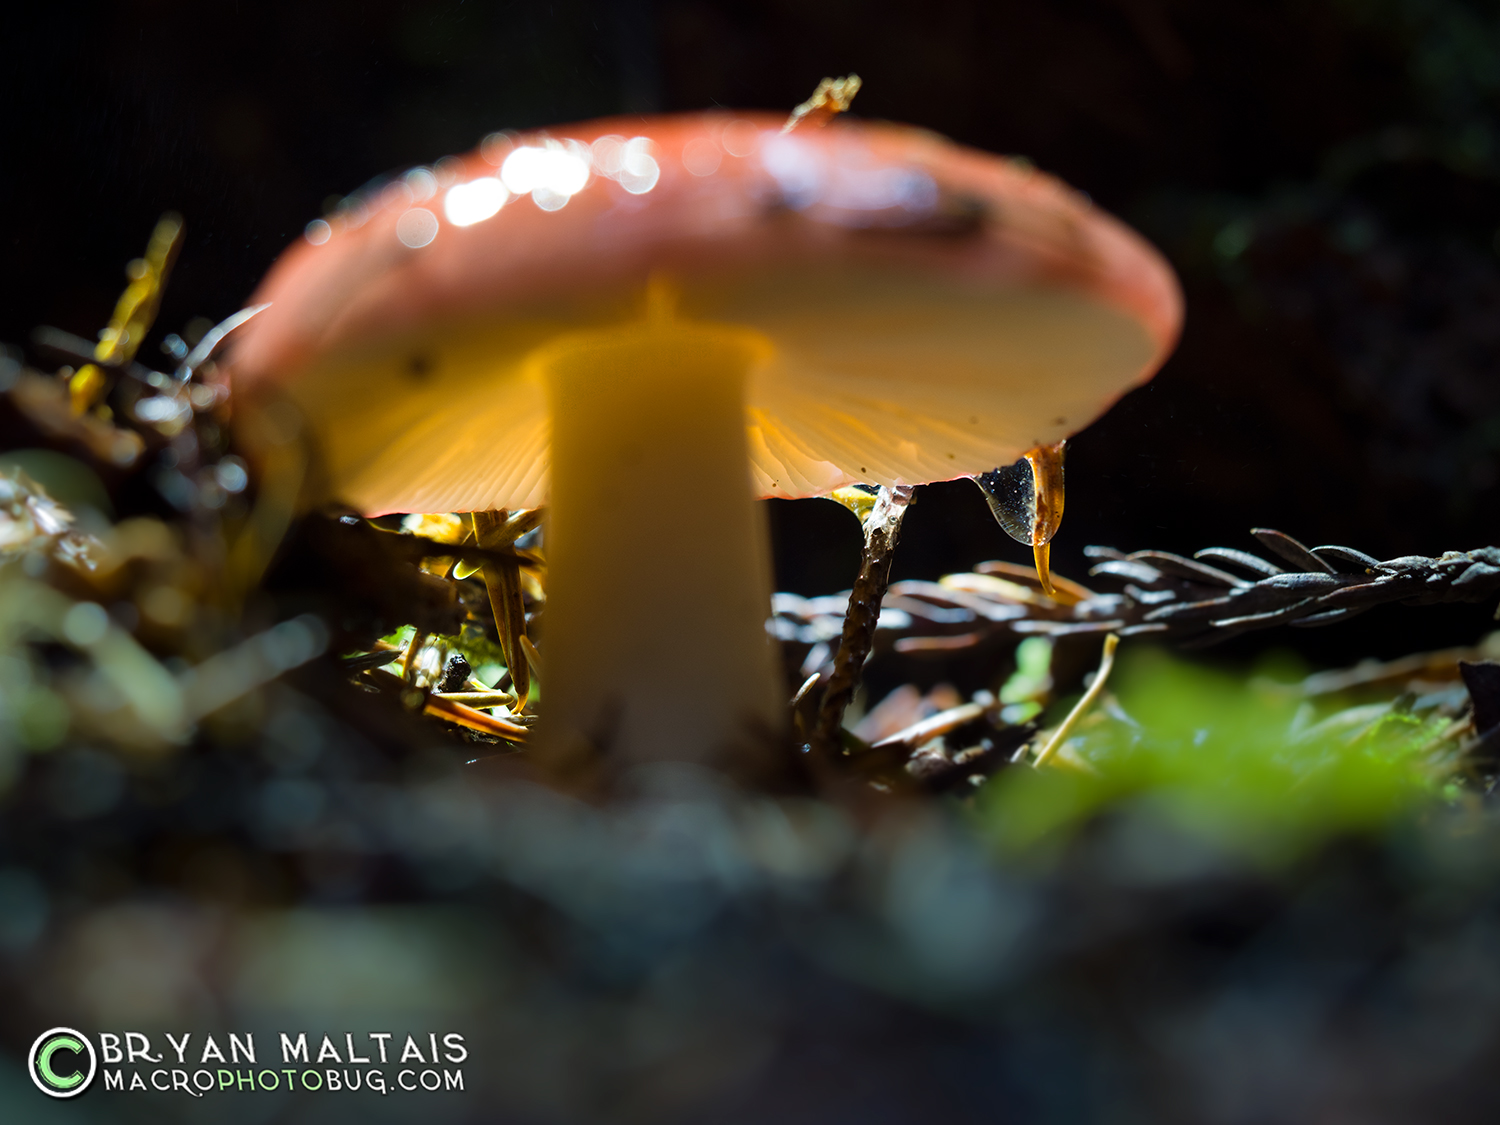
- Mushrooms in German Forest 30 stacked images with Olympus E-M5 Mk II and 12-40mm lens